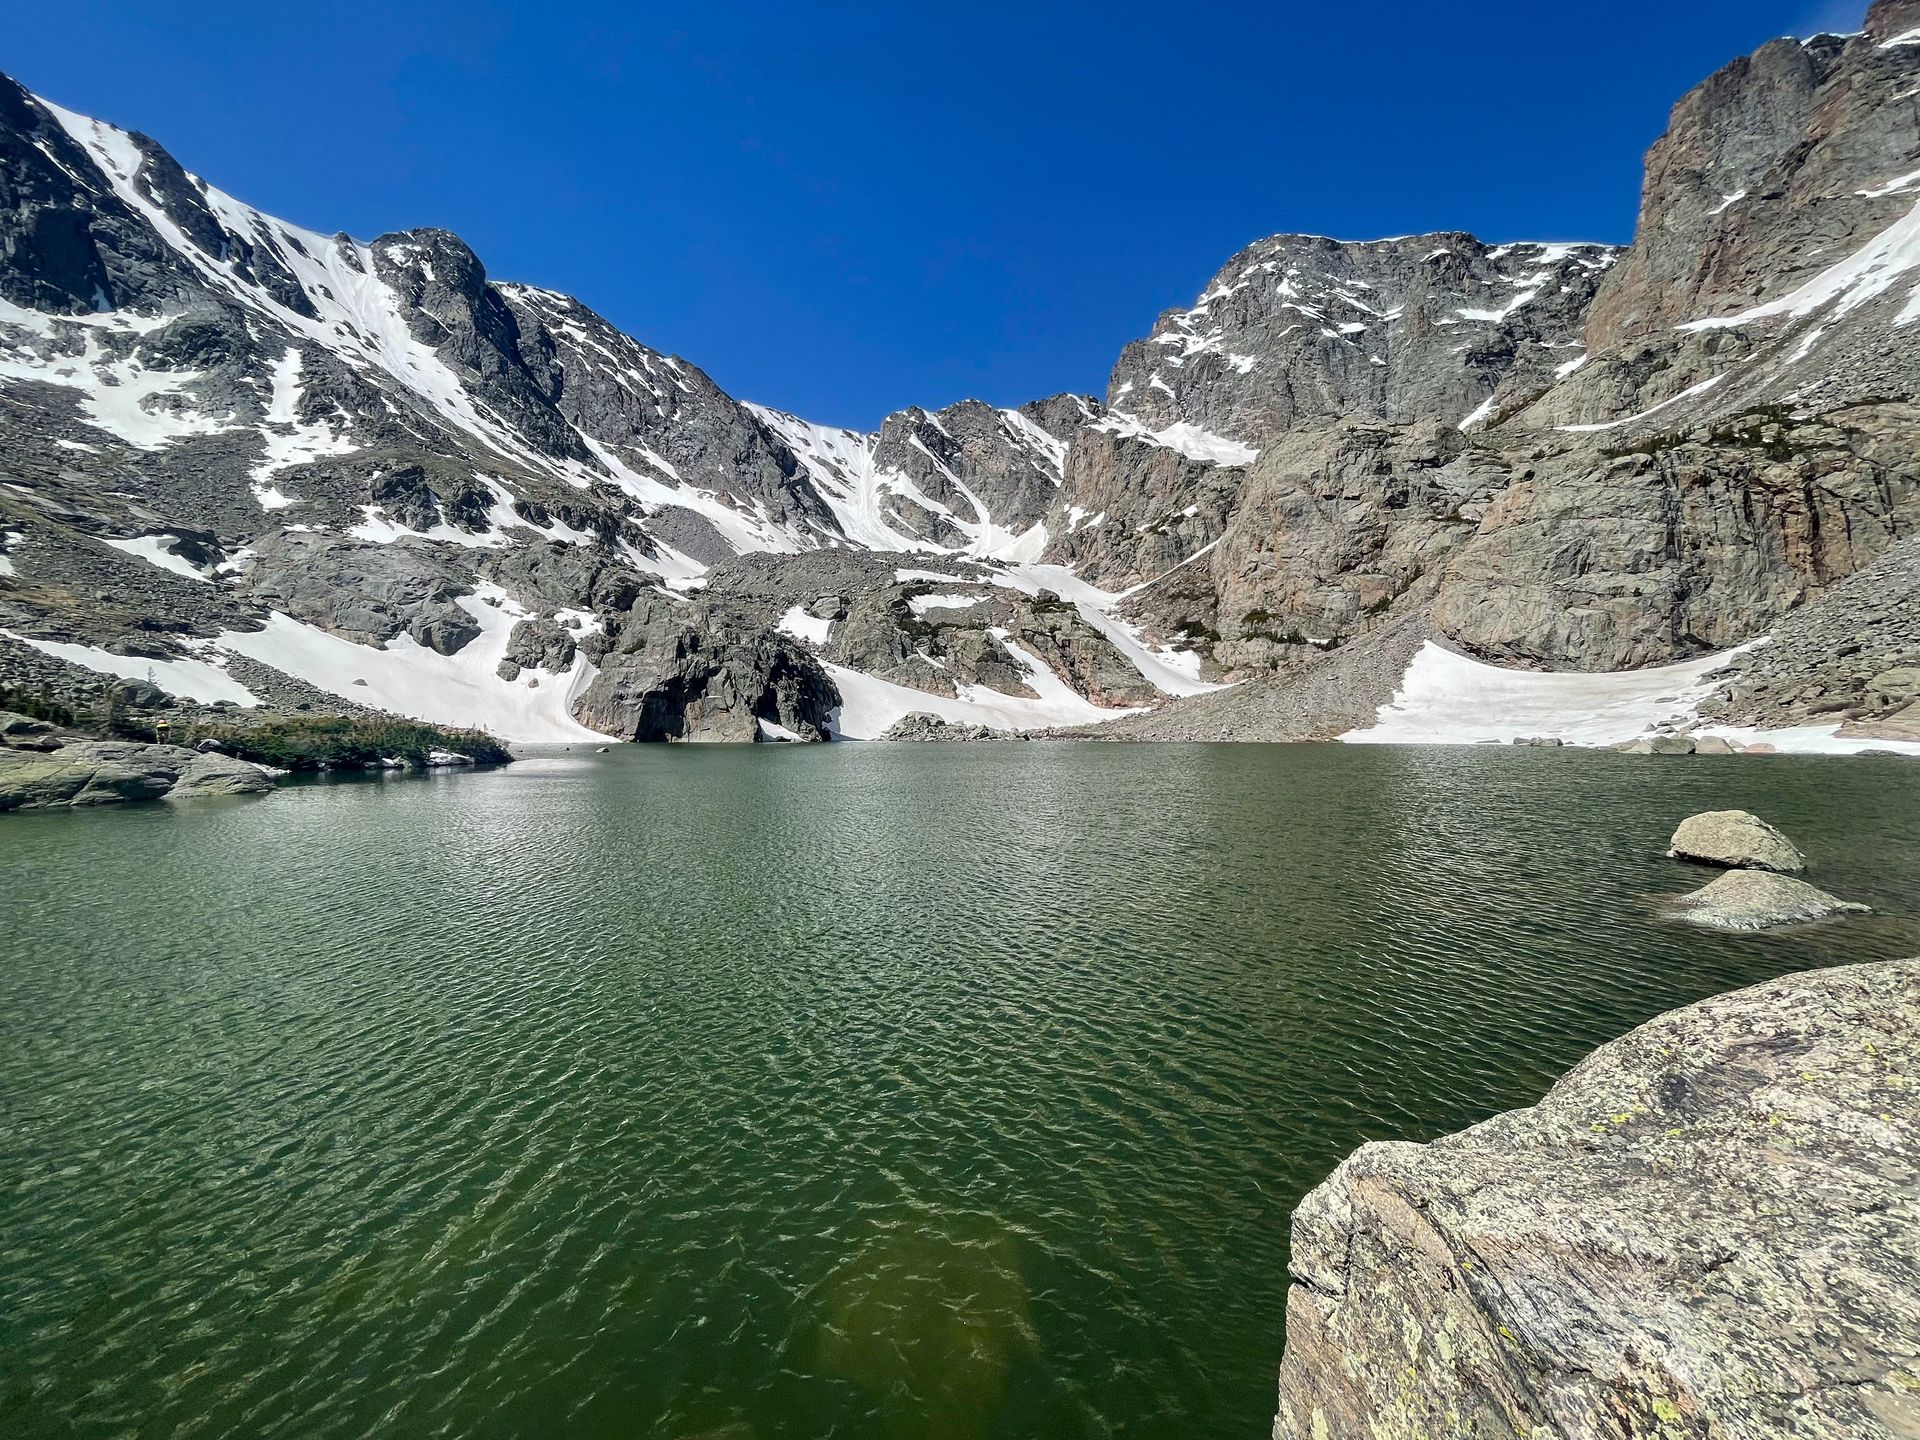
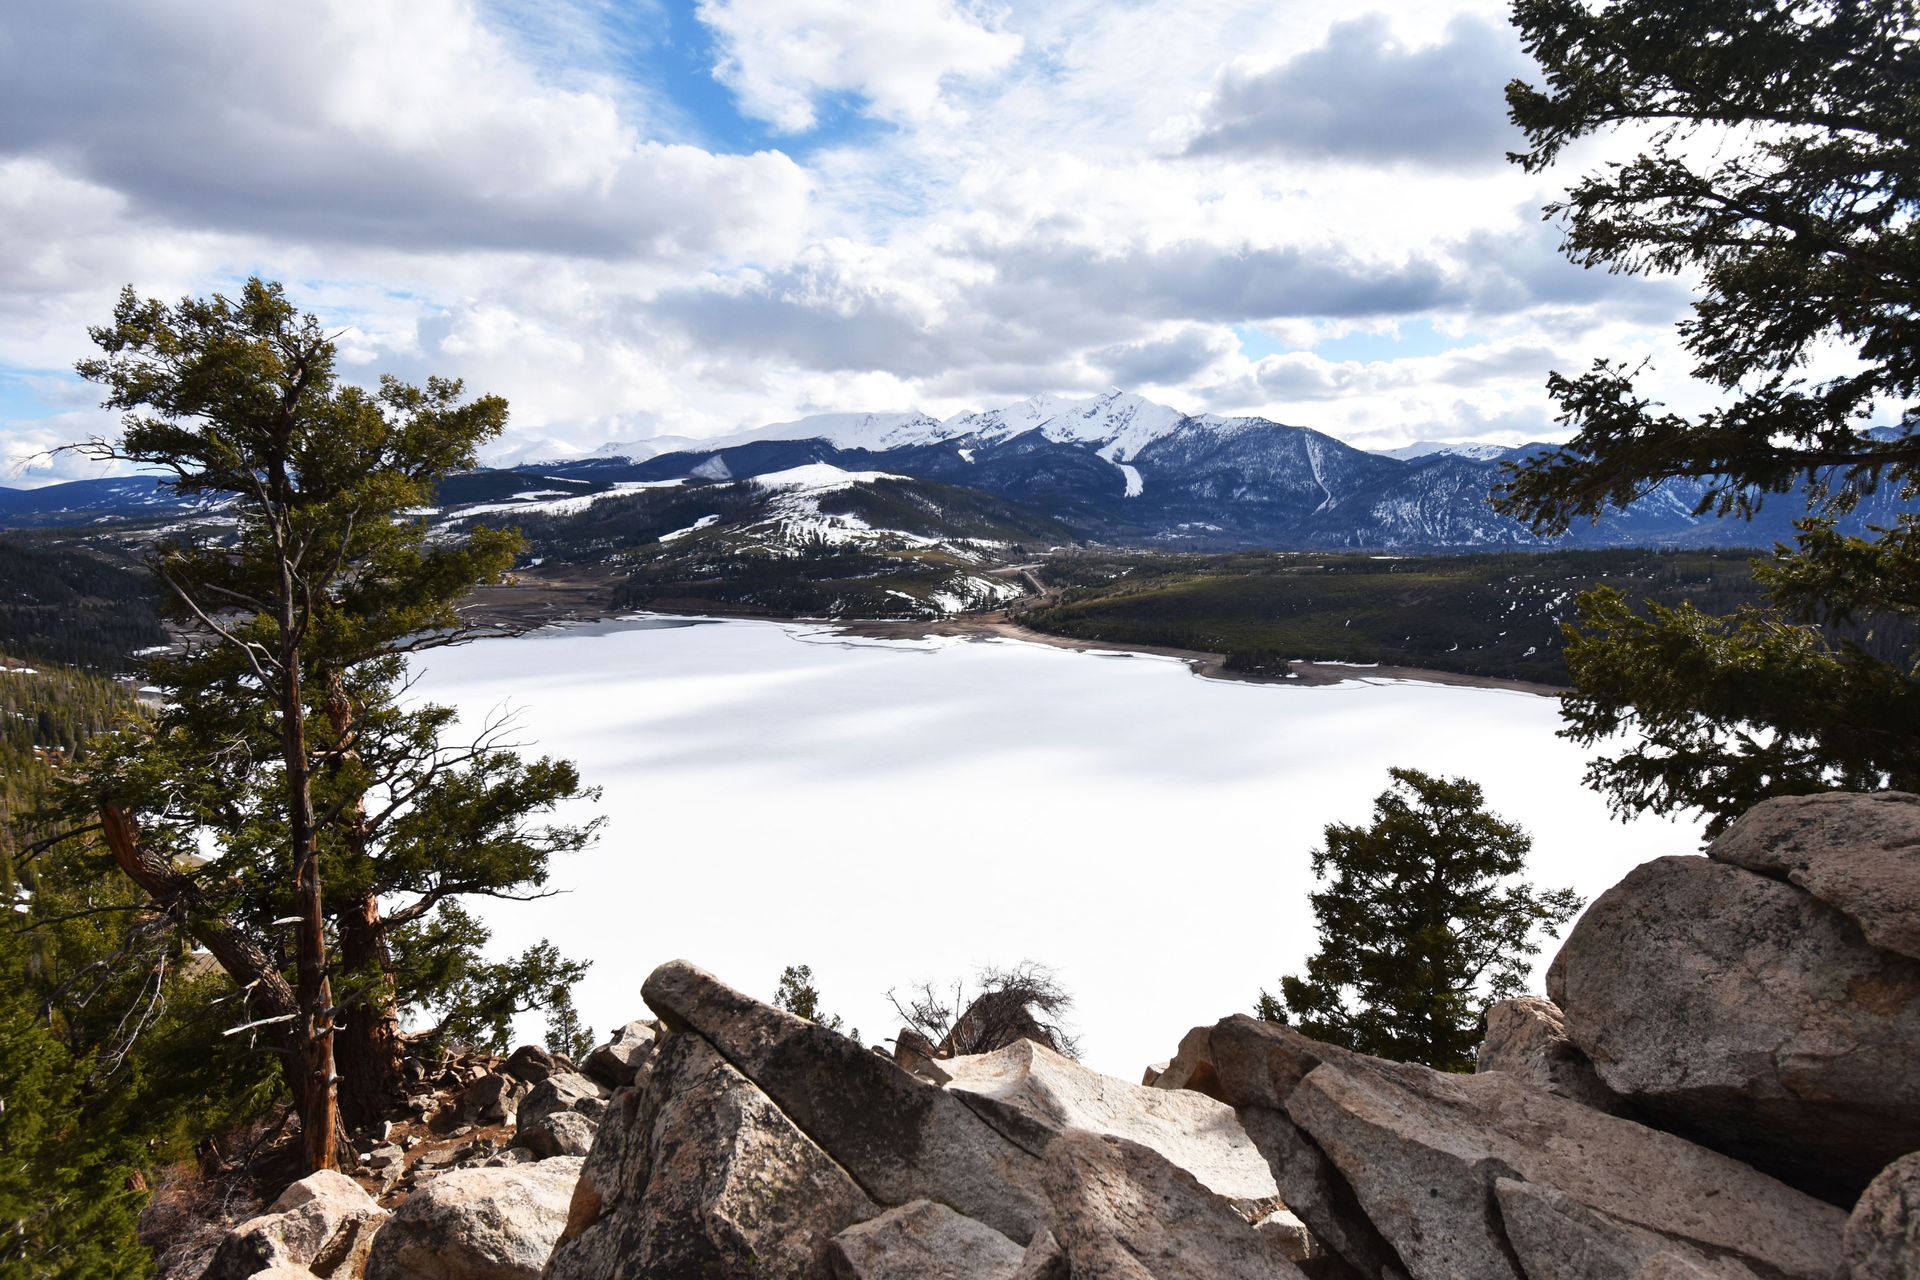
Rocky Mountain National Park is an incredible Colorado destination full of snowy mountain peaks, a variety of wildlife, world class hiking trails and panoramic views. It’s one of the most popular national parks and is definitely a place that every national park enthusiast should visit.
After multiple visits to Rocky Mountain National Park, I’ve put together the guide on how to spend 2 days inside the park. This guide is great if it's your first time visiting the national park and if you're a hiker that wants to experience some of the some beautiful trails in the Rocky Mountains.
Reservations in Rocky Mountain National Park in 2025
Rocky Mountain National Park requires a reservation to visit between May 23 and October 13, 2025.
There are two types of reservations: Access to Bear Lake Road (which includes access to the rest of the park) and access to the rest of the park. Reservations for Bear Lake Road access are needed between 5 AM and 6 PM, while they are only needed for the rest of the park between 9 AM and 2 PM.
60% of the reservations go on sale about a month in advance. For example, all July reservations go on sale at 8 AM MDT on June 1st. The other 40% of reservations go on sale at 7 PM the day prior to entry.
While the reservations go pretty quickly, I didn’t have any trouble getting reservations the night before while visiting in summer 2022 and fall 2023.
There is a $2 fee for each reservation and they must be made online. Make sure to have an offline or printed copy to show at entry, you may not have cellular data in the park.
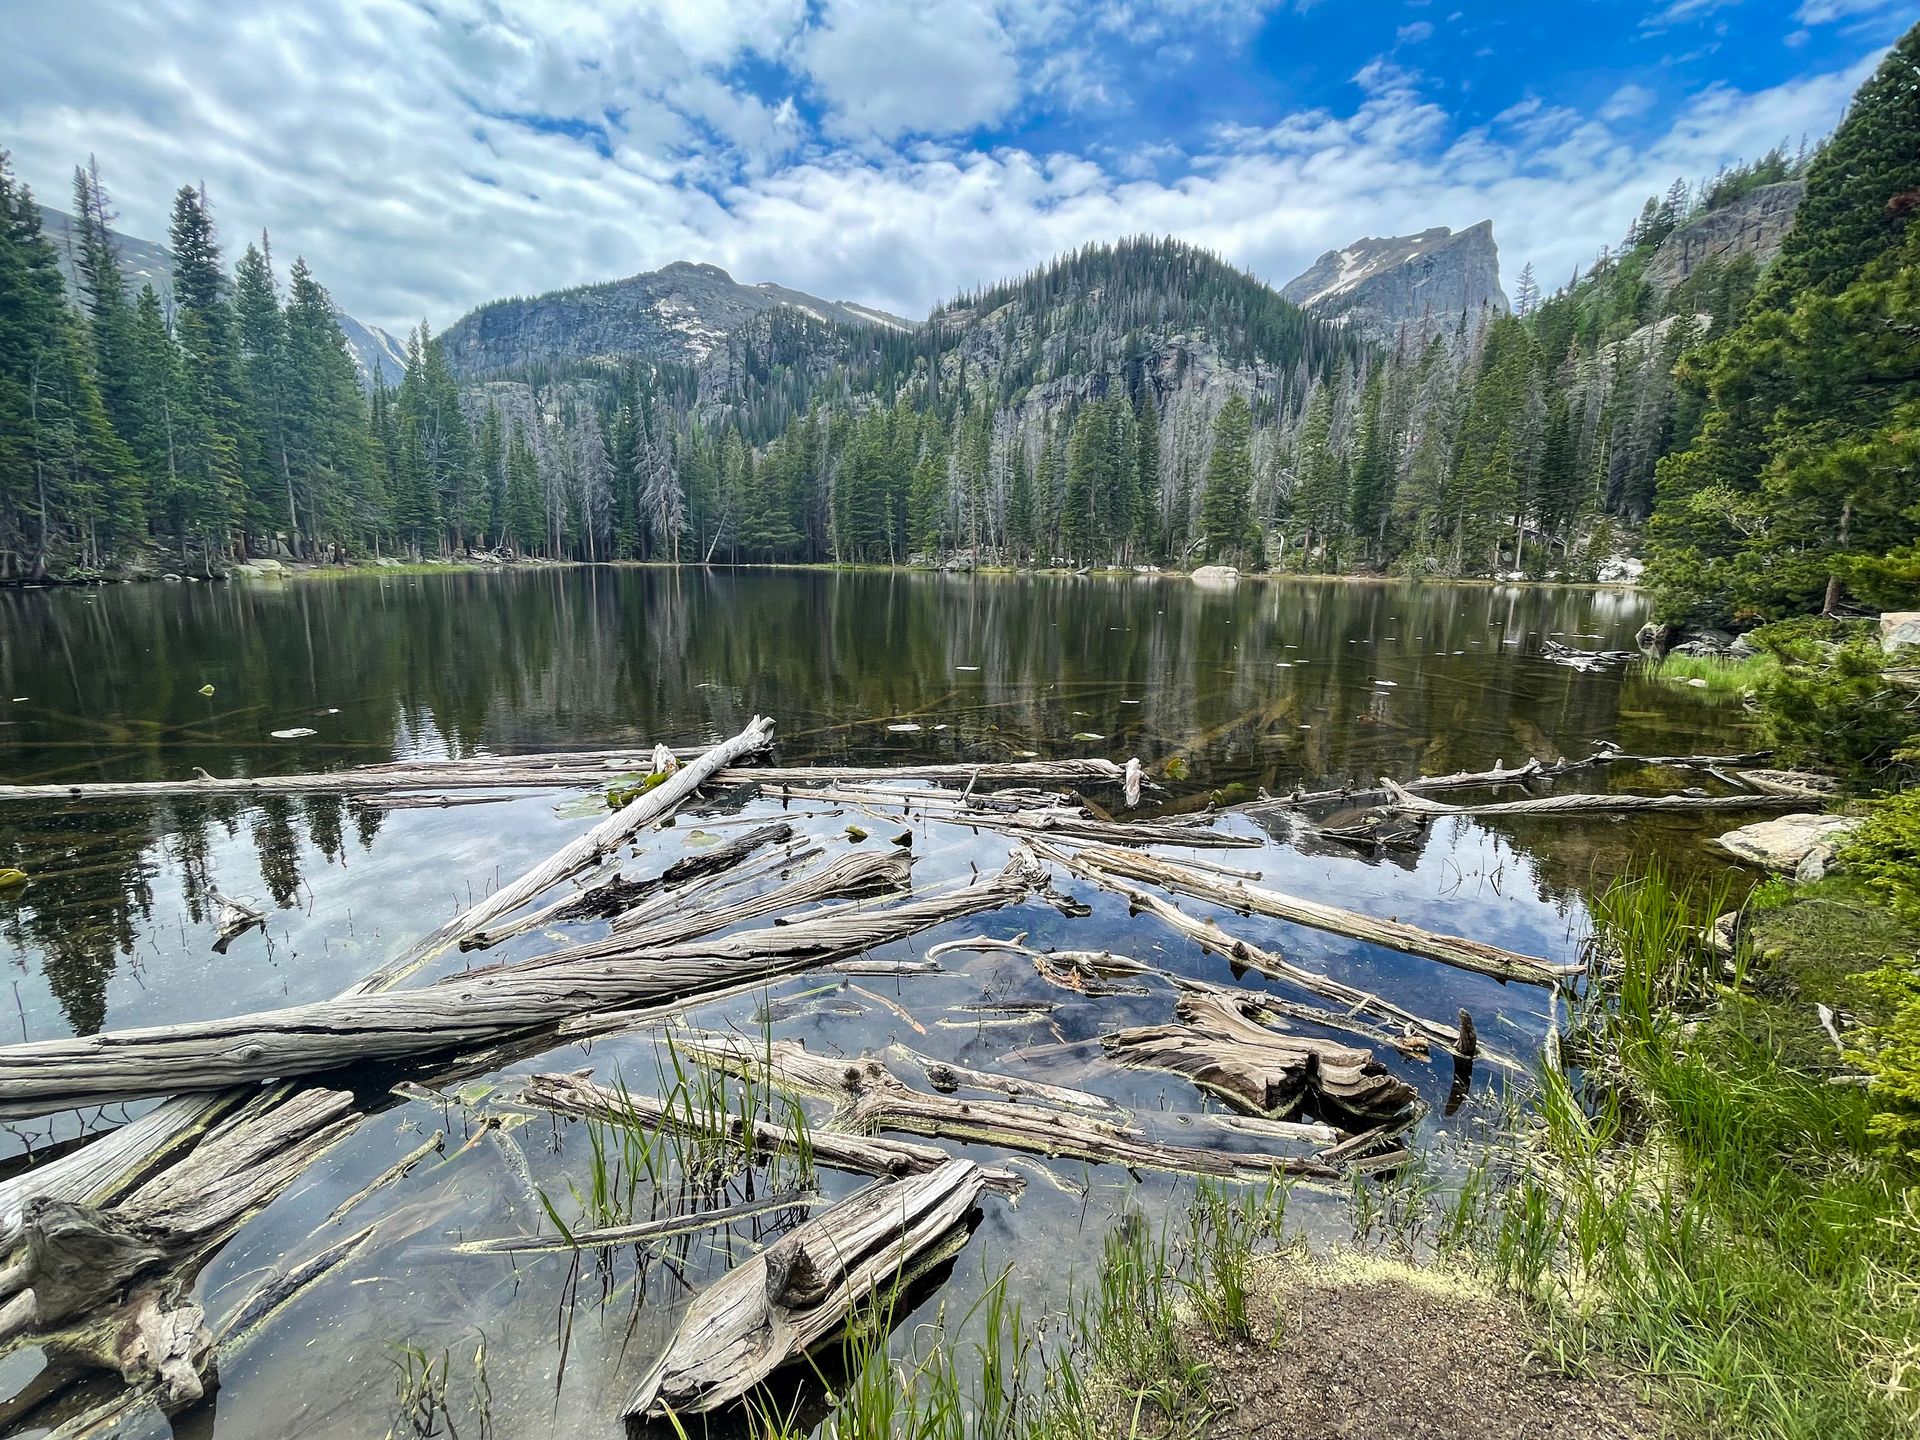
When to Visit the Rocky Mountains
You can visit Rocky Mountain National Park year round, but you’ll have a very different experience in the winter vs the summer. During the winter, some areas of the park are closed and the park gets a lot of snow. If you choose to hike, you’ll need to assess avalanche danger and be prepared with microspikes and other winter gear. Make sure to plan ahead to stay safe!
Note that the snow lingers well into May and June as well. If you want to visit the park without worrying about snow, you should visit from July to September. This is the most crowded time to visit, but it’s worth it if you’re not used to snowy hiking conditions.
How to Get to the Rocky Mountains
To reach Rocky Mountain National Park, you’ll want to fly into Denver and rent a car. The drive typically takes about an hour and a half and you’ll want to take U.S. Route 36 from Lyons to Estes Park.
Tips and Things To Know Before Visiting Rocky Mountain National Park
Leave No Trace in the Rocky Mountains
It is so important to leave no trace when you visit Rocky Mountain National Park! Here are some ways to do that:
-
Pack out all of your trash. This includes biodegradable items such as orange peels. It also includes human waste. Use the provided bathrooms when you can and use a WAG bag on the trail if you can’t wait. The bacteria levels of water have increased in popular areas in recent years, so do your part to pack it out.
-
Check current conditions from the visitor center or recent trail reviews before heading out on the trails. Depending on the time of year, there may be snow and ice on the trails. If there is, you should hike with microspikes and trekking poles.
-
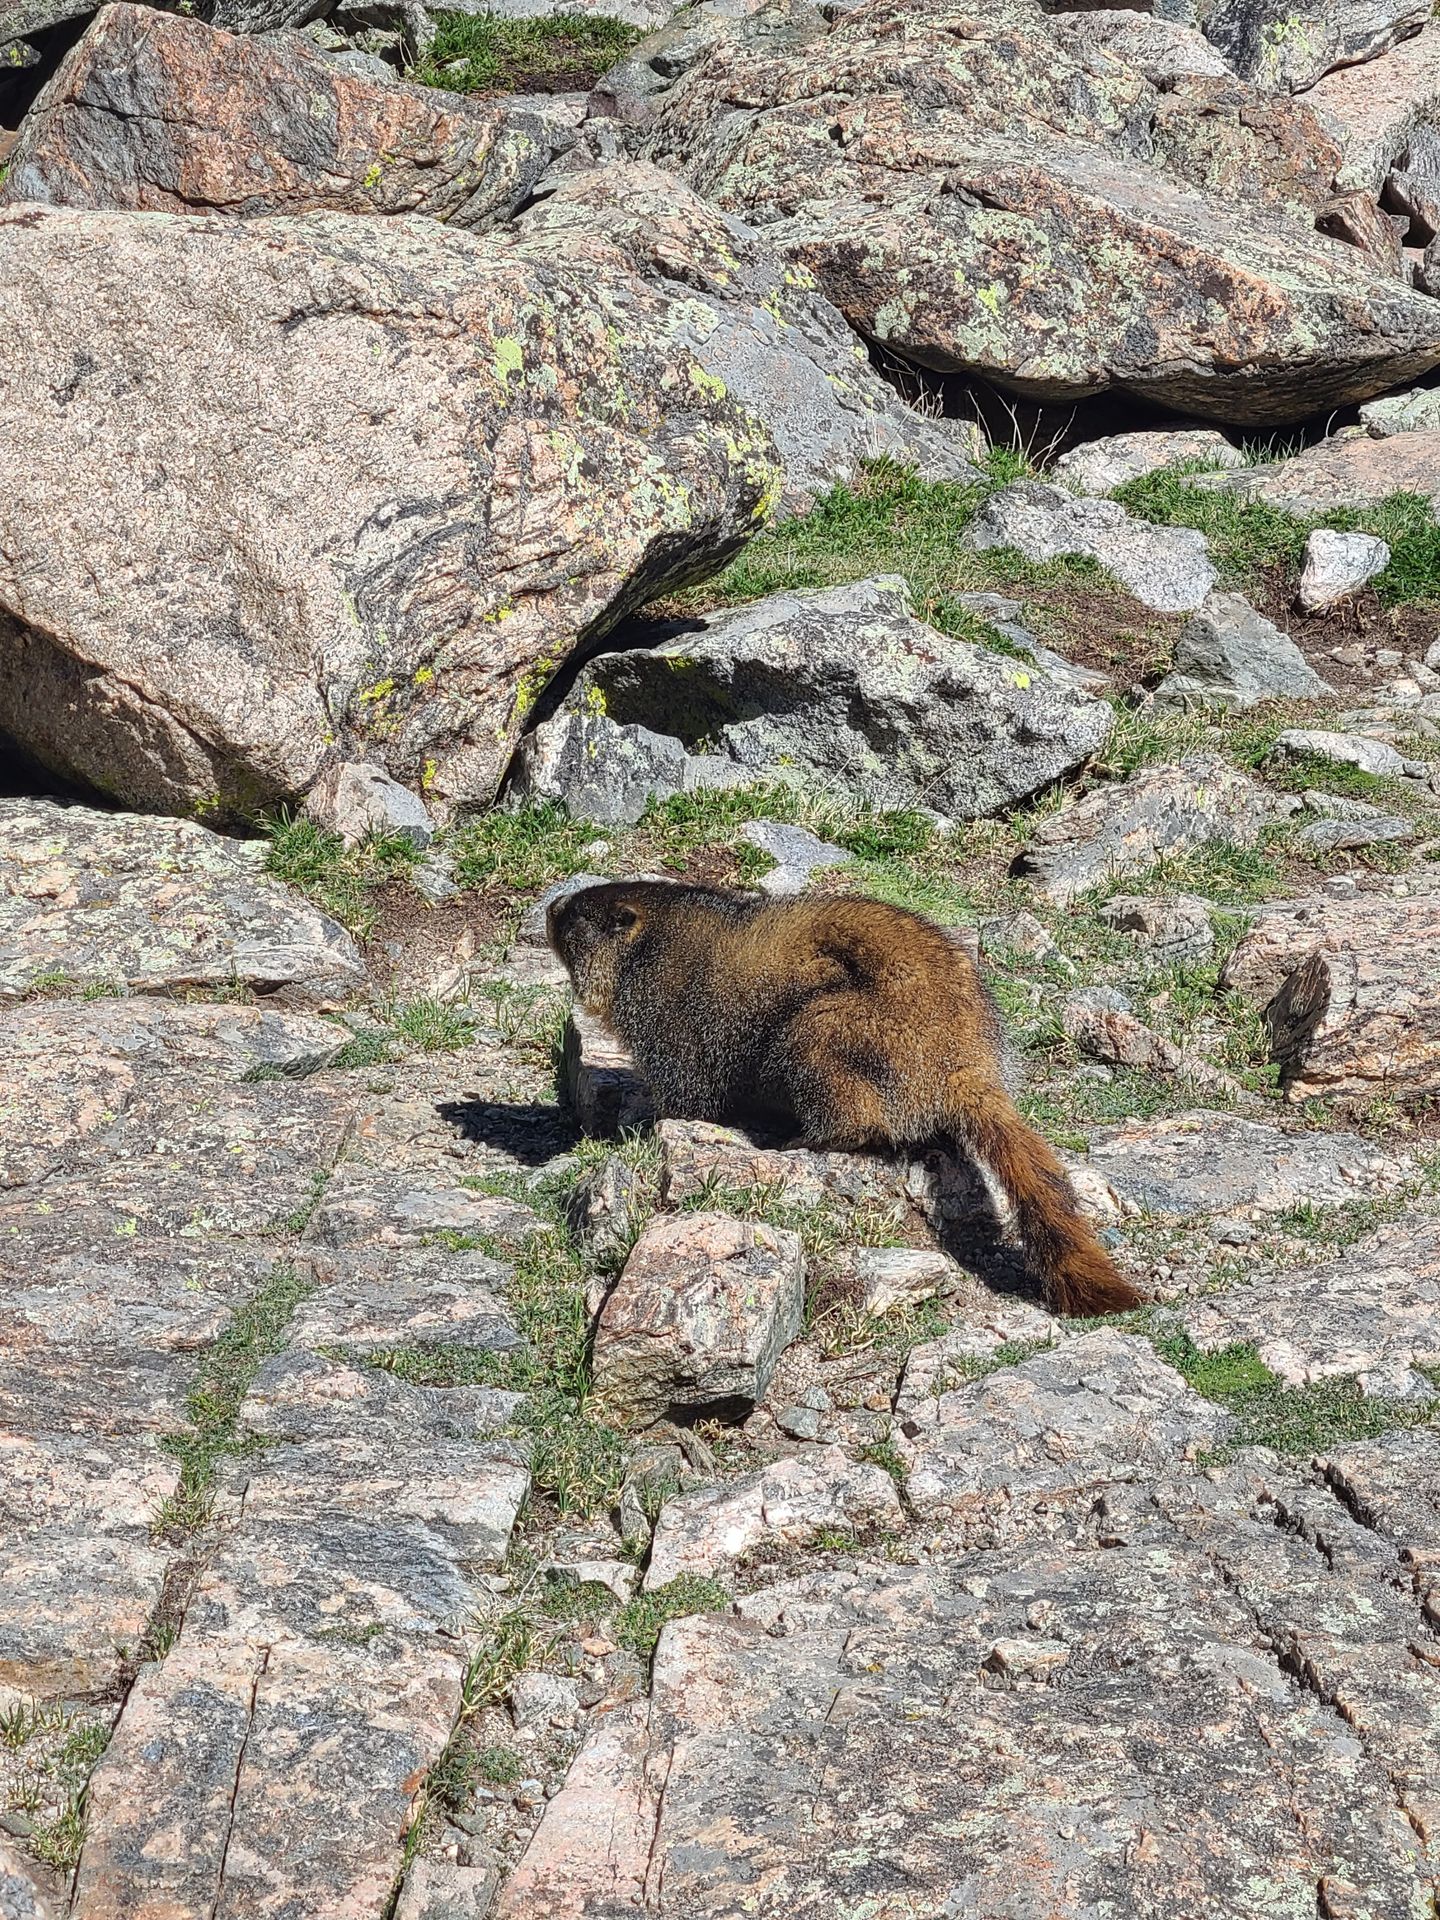
Please never feed or approach wildlife. That includes chipmunks, marmots, elk, moose and any other wildlife you see. They are not necessarily able to digest human food and this can encourage them to approach humans, get hit by cars, bite people or even be euthanized. Unfortunately, I saw visitors feeding chipmunks at Emerald Lake.
-
Never carve on a rock or a tree. Take a photo to capture your memories instead! It is so sad to see the amount of trees that have been carved near Bear Lake.
-
Respect those around you by following trail etiquette. This includes keeping your voices down, yielding to uphill hikers and stepping aside if a hiker behind you may want to pass. Help make everyone’s visit to Rocky Mountain National Park enjoyable!
More Tips for Visiting the Rocky Mountains
-
The Rocky Mountains are located at a high altitude. If you are not used to it, it’s common to experience altitude sickness. Signs of altitude sickness include headaches, nausea, dizziness, loss of appetite and shortness of breath. Some ways to help prevent it include taking your time on the trails, drinking a lot of water and avoiding alcohol.
-
Afternoon thunderstorms are common in the summer and lightning can be very dangerous when you’re in exposed areas at high elevation. Do not hike if the forecast calls for a storm.
-
There is very little cell reception inside the Rocky Mountains. Download offline maps and use a physical map to get around.
-
The GuideAlong Audio tour is a great thing to listen to as you drive around the park. The app will teach you about the park and its history, as well as suggesting scenic stops along the way. It’s a great asset to purchase and have downloaded ahead of time.
-
Rocky Mountain National Park requires a $30 per day or $35 per week vehicle fee to enter. This is in addition to the timed reservation. If you will be visiting multiple national parks over the year, you’ll get a lot of value out of the America the Beautiful Pass, which gets you into most national parks for a year for $80.
-
If you’re hiking, you should come prepared with proper hiking shoes and other essential items including a first aid kit, plenty of water, a headlamp and more. Check out my beginner hiker’s guide for more details to get started!
Rocky Mountain National Park Itinerary: Day One
Hike to Emerald Lake and Lake Haiyaha
Begin your first day in the park in the Bear Lake Corridor and enjoy some of the most popular trails in the park. Even though reservations are required, the Bear Lake parking lot may fill up during part of the day and the trails will likely be crowded. Therefore, I recommend getting the earliest reservation time (5AM to 7AM) and entering before 6AM. Or you can even enter before 5AM if you really want to avoid the crowds!
Tip: You also have the option to take a shuttle to the trailhead - this is great if you don’t want to get up early! You can park at the Park & Ride area and the shuttles leave to go to Bear Lake every 10-15 minutes.
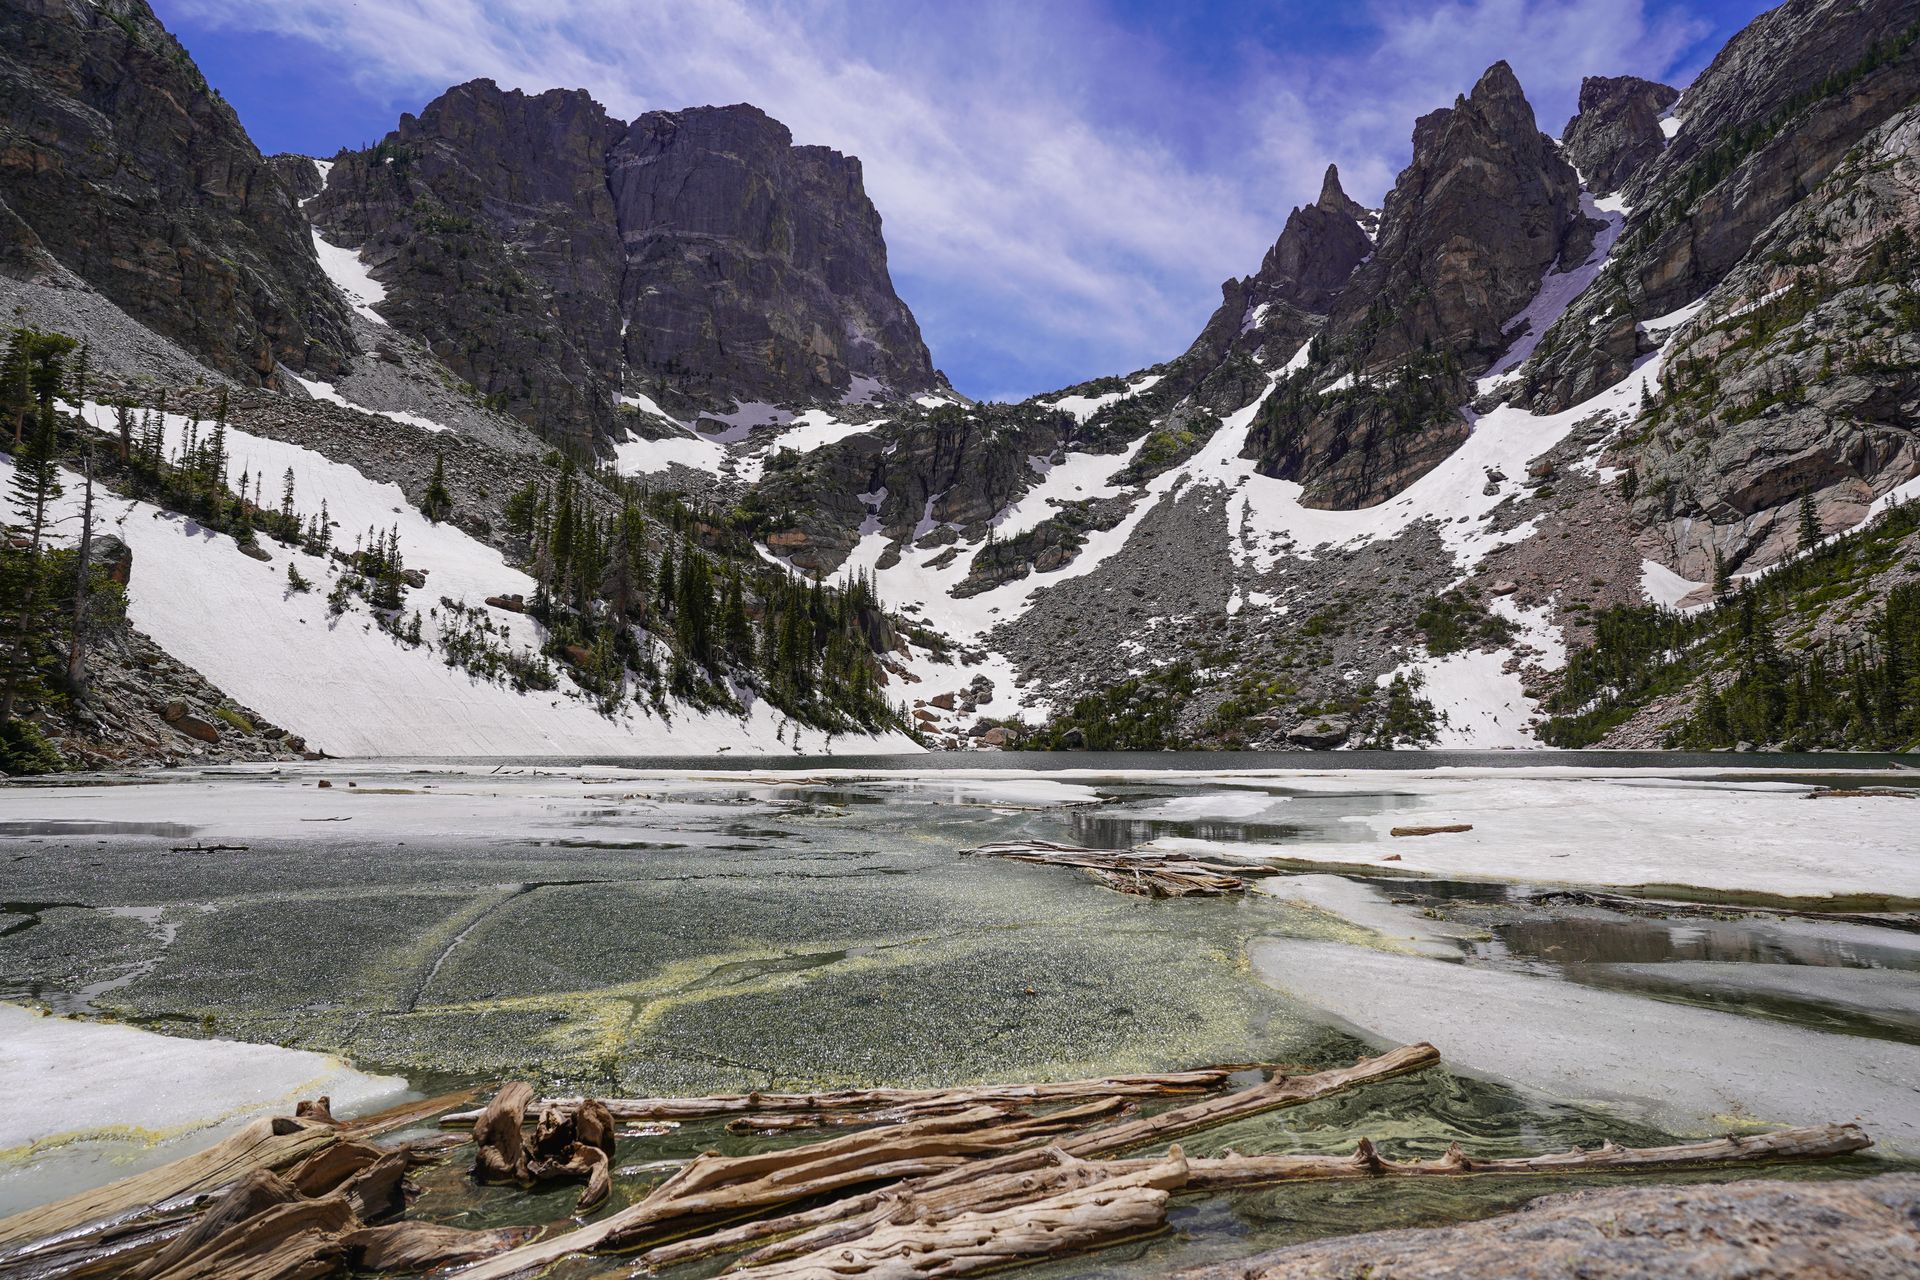
When you arrive and get parked, there are several lakes to hike to depending on your interest, time and abilities. If you’re up for it, I recommend hiking to both Lake Haiyaha and Emerald Lake, which will be 5.2 miles total. Along the way, you’ll pass Nymph Lake and Dream Lake. Plus, you can see Bear Lake right next to the trailhead.
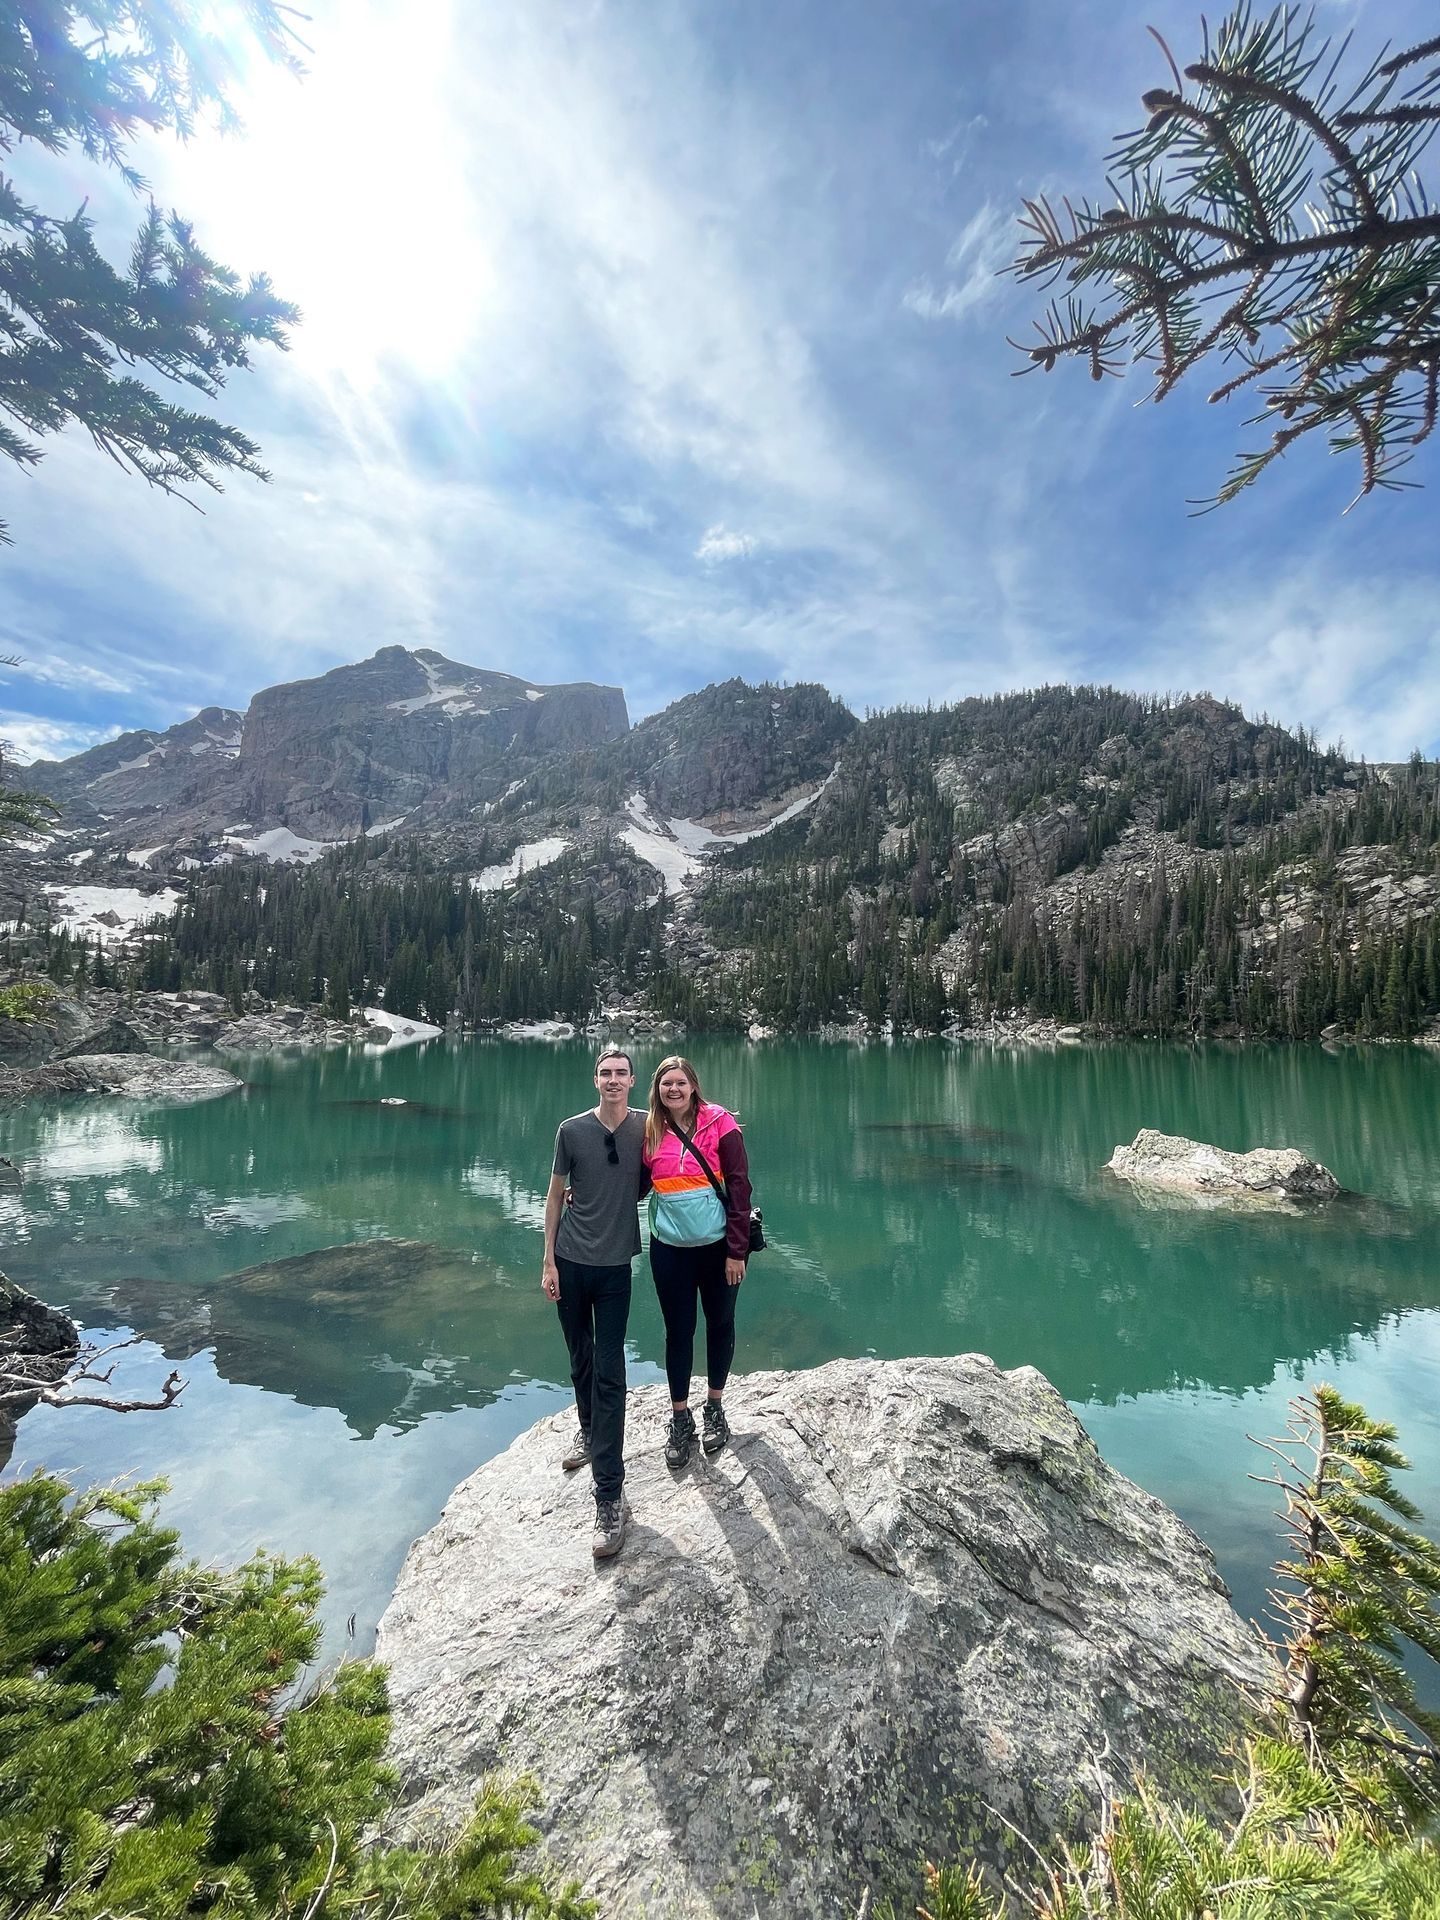
I recommend visiting Emerald Lake first because it’s more popular. This lake is absolutely stunning and you’ll get to enjoy an incredible backdrop with mountain peaks. Then, you’ll backtrack to Dream Lake and turn left to follow the trail up to Lake Haiyaha.
Lake Haiyaha is a gorgeous lake surrounded by large boulders. On your way up to Lake Haiyaha, there is a nice viewpoint looking out into the valley. Note that the final ascent to the lake is prone to avalanches, so you should avoid hiking this in the winter months. There are also some large boulders to climb around to get right next to the water.
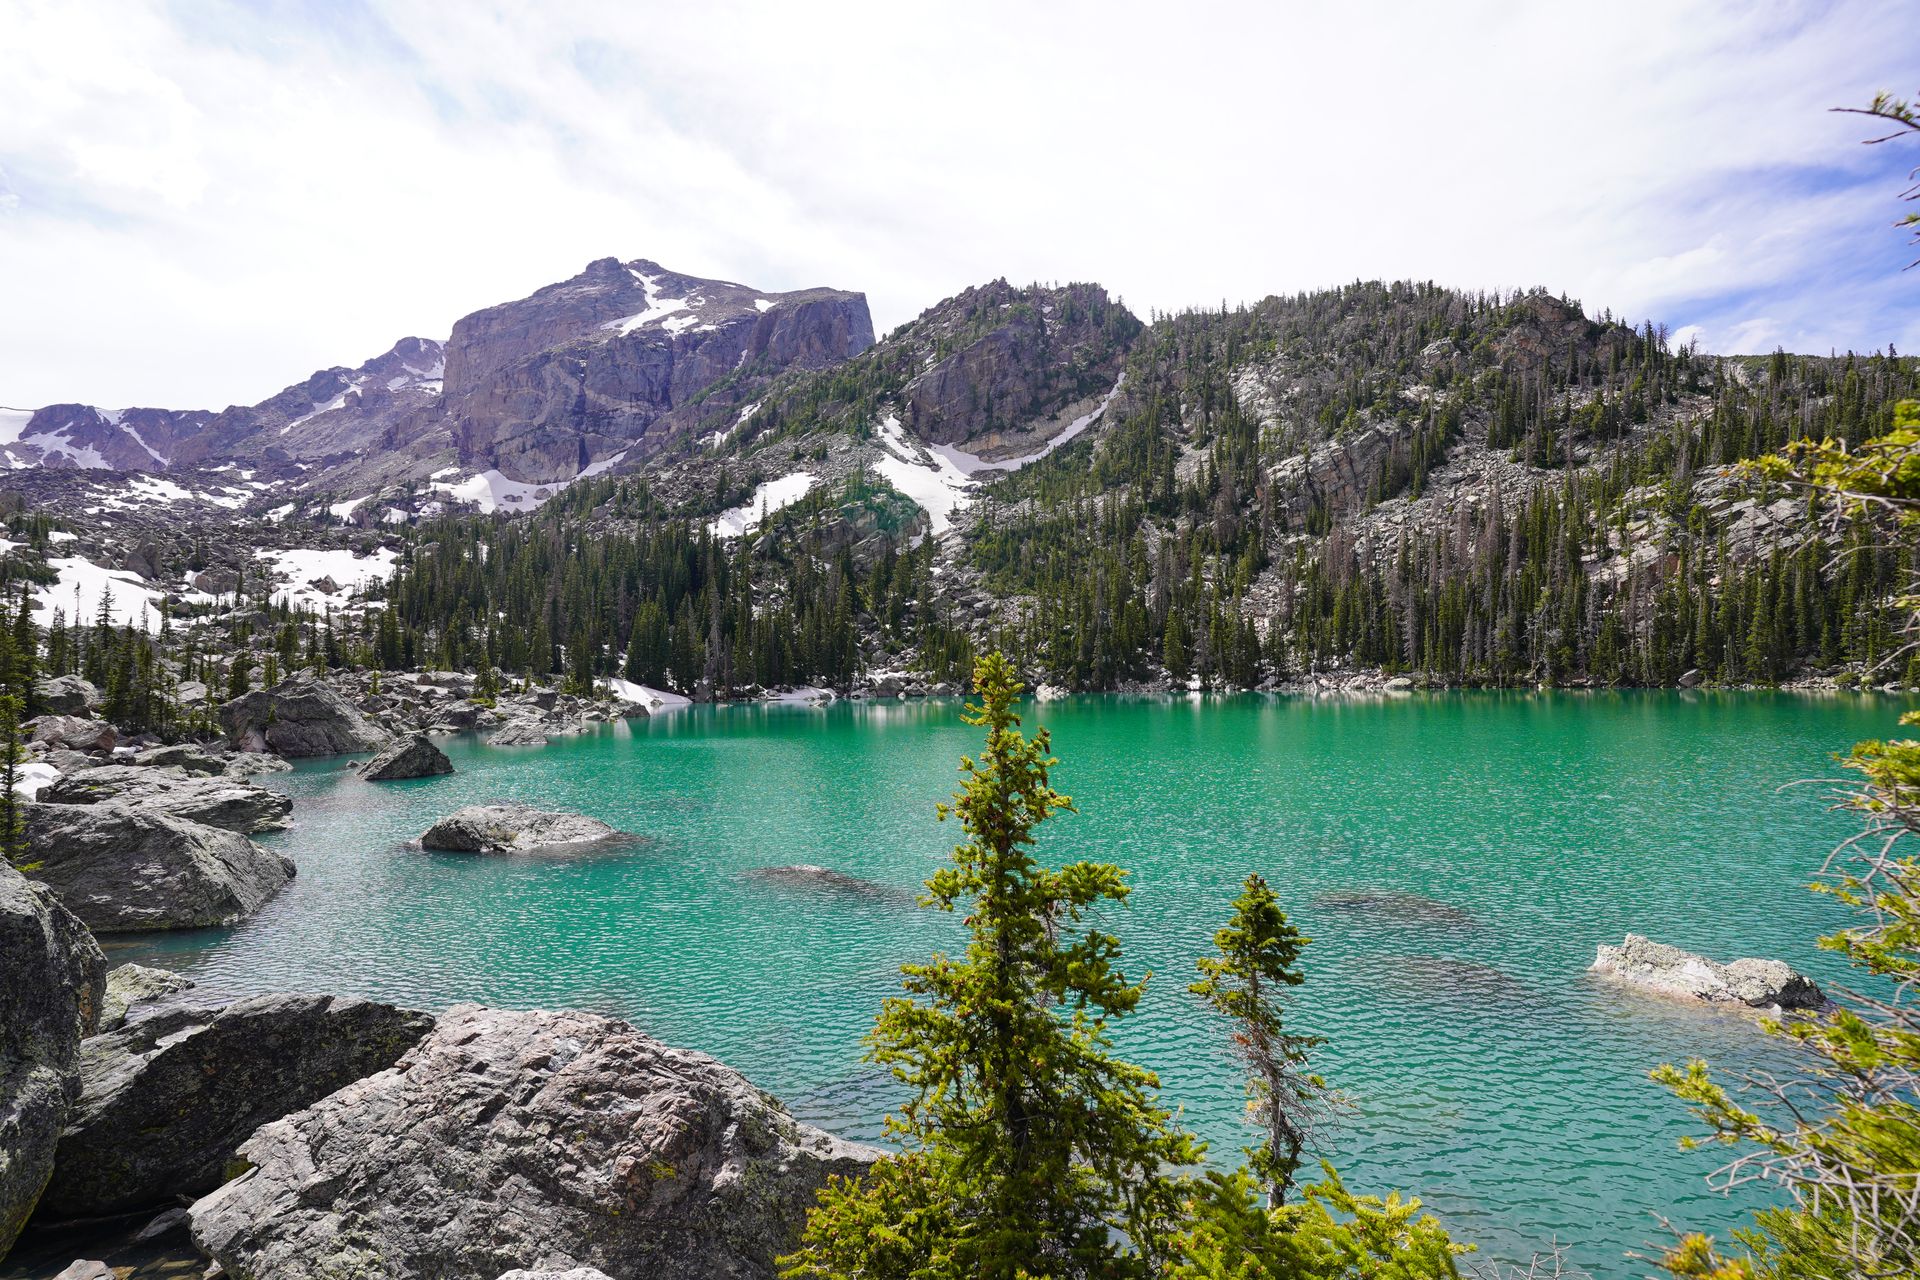
The hike to both Emerald Lake and Lake Haiyaha has about 1,000 total feet of elevation gain. The worst of the elevation gain takes places going up to Lake Haiyaha. Make sure to bring plenty of water, along with snacks, a map and the other necessary hiking essentials.
All of the lakes that you’ll visit on this hike make it a highly rewarding experience! The alpine landscape is incredible and this area is one that every hiker should explore at least once.
Drive Trail Ridge Road
After an early morning on the trails, rest your legs with a bucket-list scenic drive through the Rocky Mountains on Trail Ridge Road. This is the highest paved road in North America and reaches an elevation of 12,183 feet. There is no shortage of incredible views along the way!
The road is subject to seasonal closures and typically fully opens Memorial Weekend until the end of fall. If you’re visiting before that, you may be able to visit the first couple of overlooks but not drive the entire thing.
I highly recommend the audio app GuideAlong to listen to while you’re making this drive. The app will teach you about the park and discuss the various viewpoints along the way!
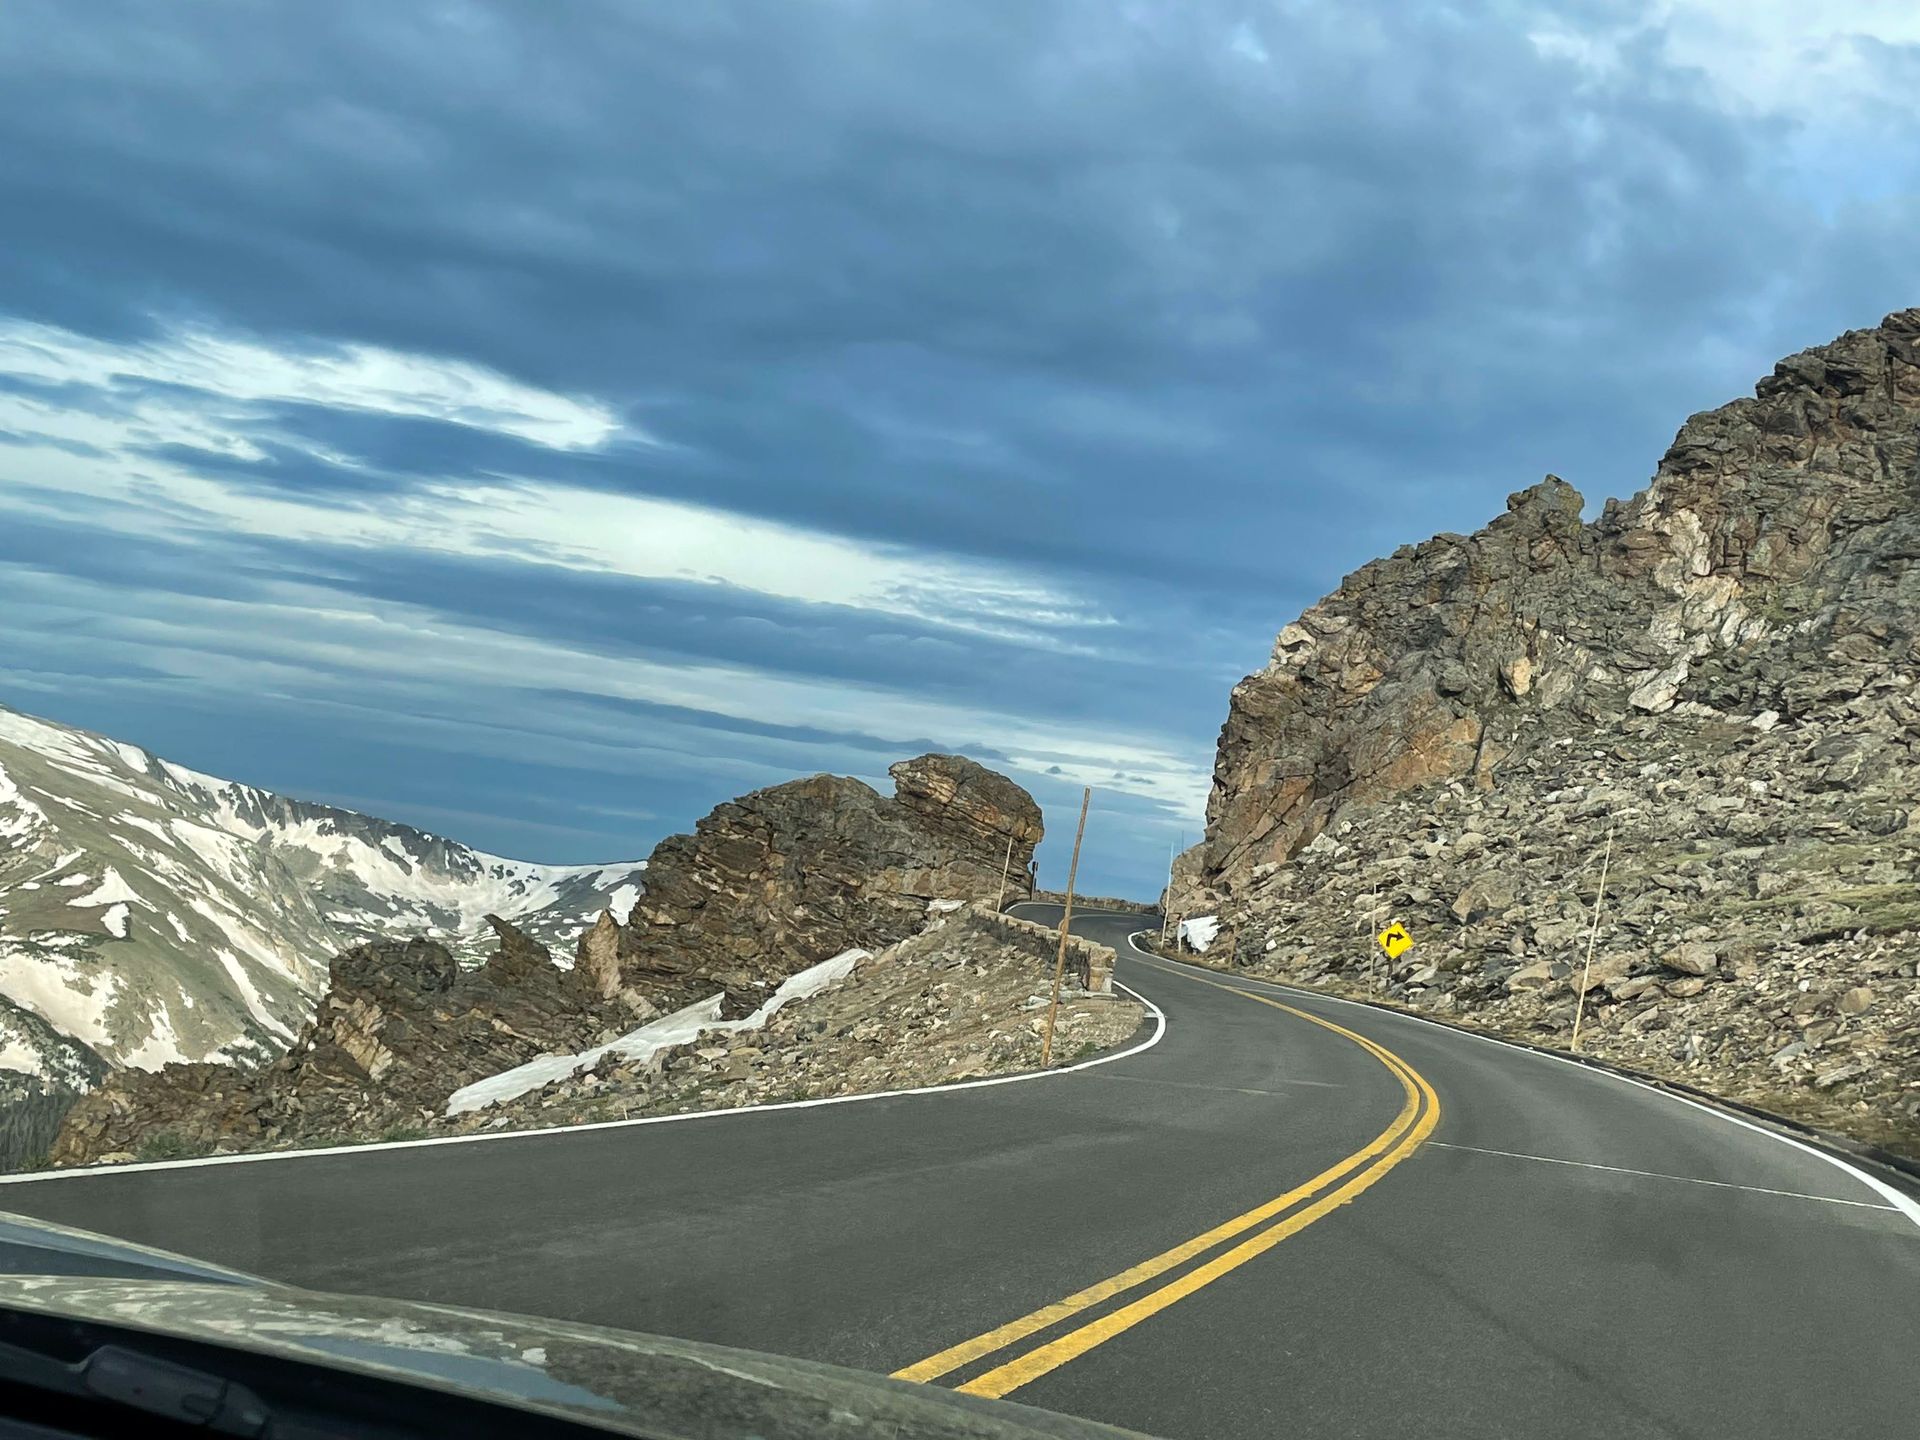
Here are 10 stops to make on Trail Ridge Road (listed in order from Estes Park to Grand Lake). Most of these are scenic viewpoints. The trails I’ve listed are relatively short and easy.
-
Many Parks Curve Overlook: One of the first scenic vistas on Trail Ridge Road is Many Parks Curve. This overlook provides a panoramic view looking at several meadows framed by mountains.
-
Rainbow Curve: Rainbow Curve is right about when you’ll start to notice the trees thinning out as you enter into the alpine tundra. You’ll have views here of the Alluvial Fan, Deer Mountain and more.
-
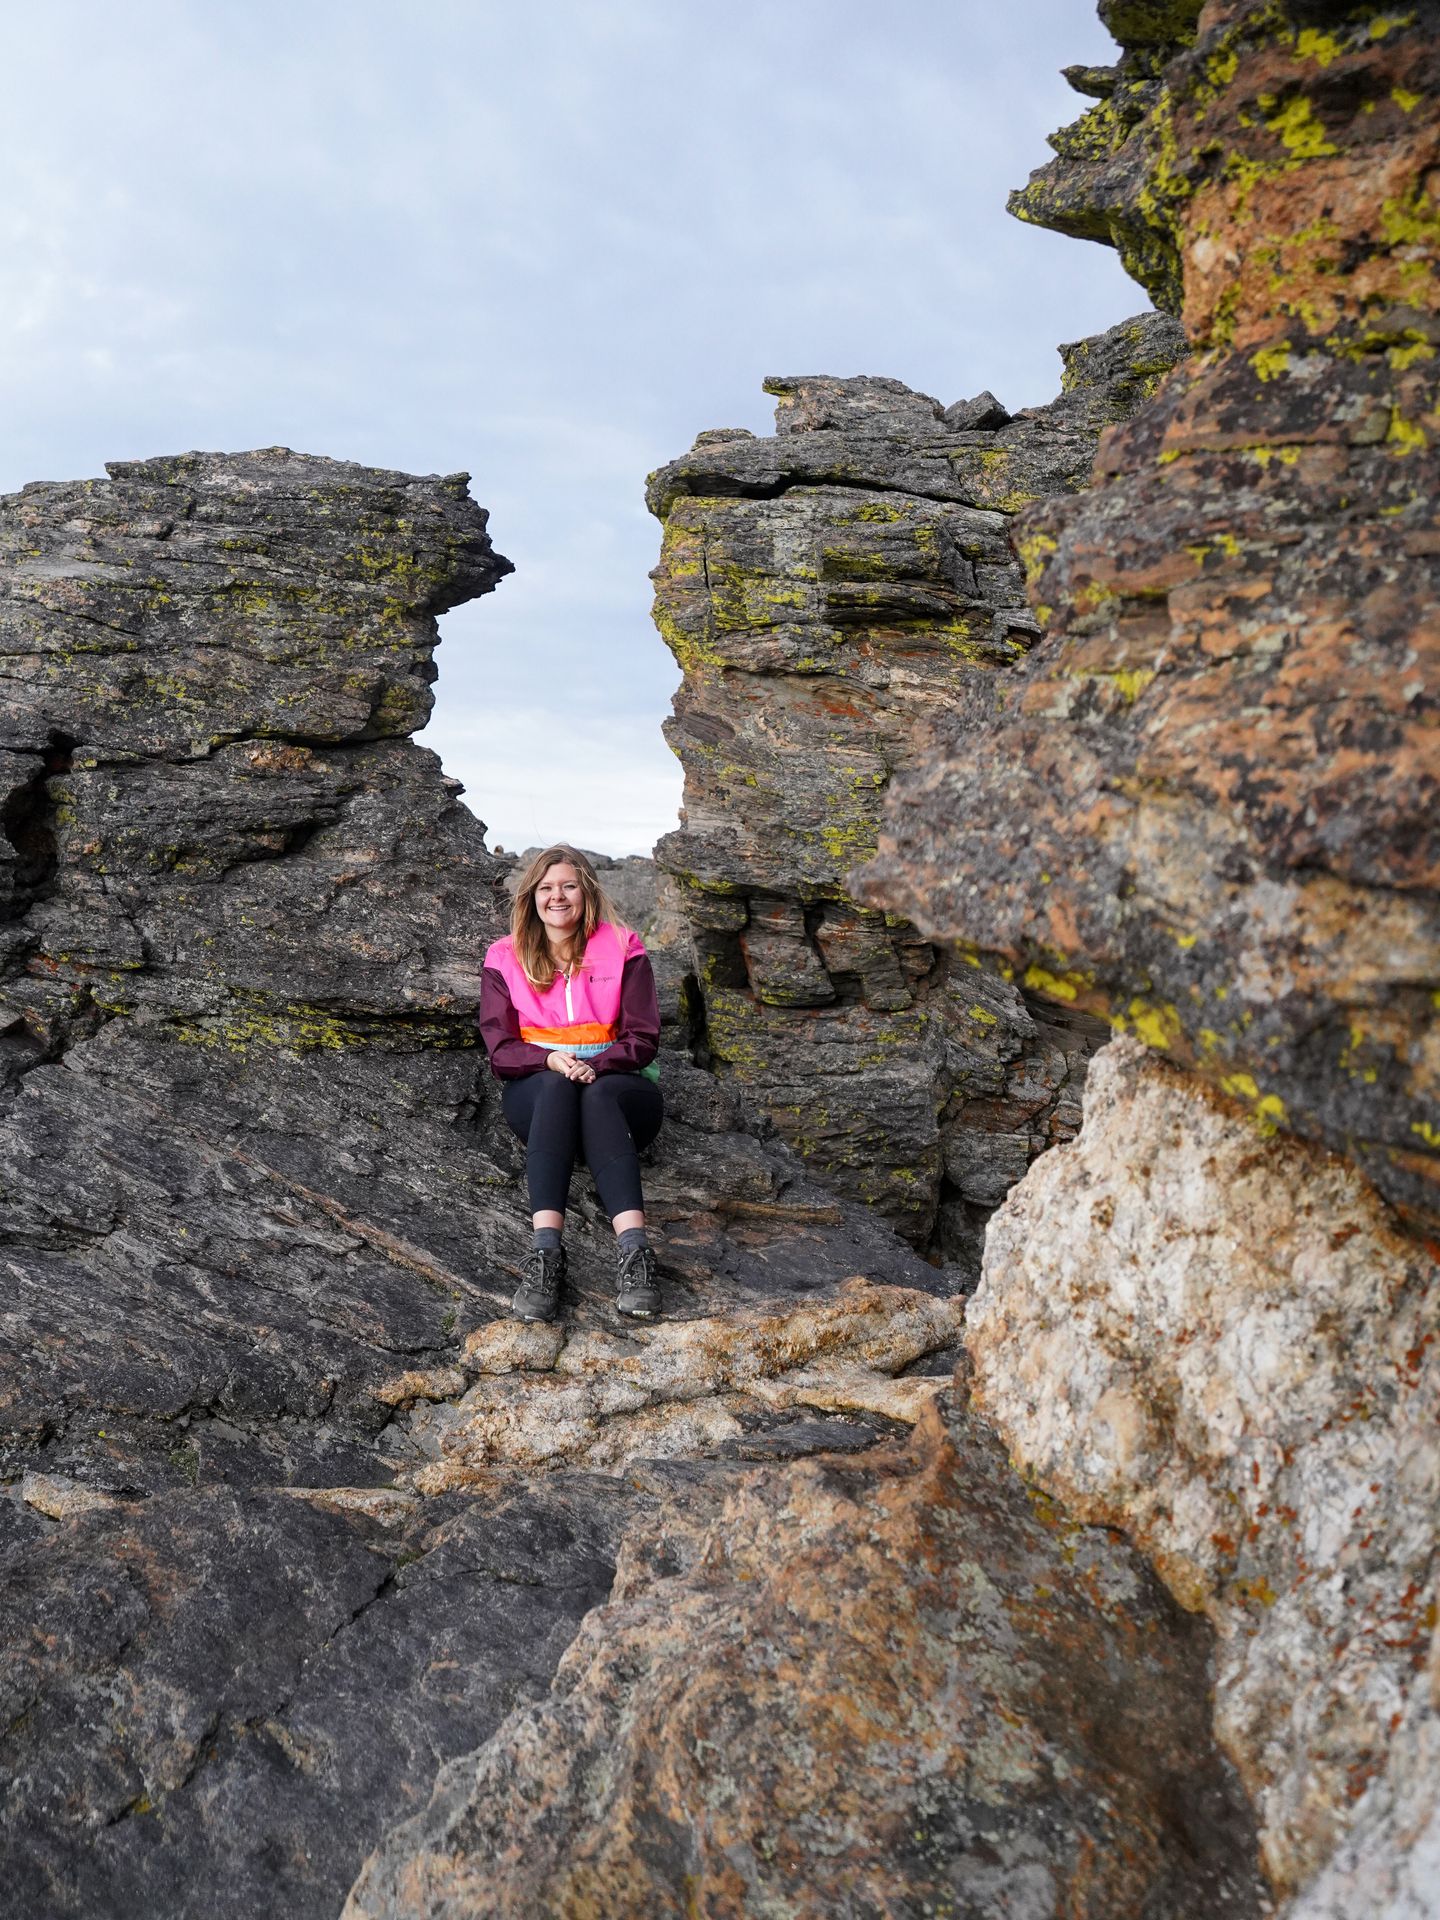
Tundra Communities Trailhead: This short 1 mile trail is a great way to see the alpine landscape up close. Along the way, you’ll see some really neat rock formations (like mushroom rocks, which are similar to hoodoos) and have some amazing viewpoints of the area. The trail is rated easy and was one of my favorite stops on Trail Ridge Road.
-
Lava Cliffs: The Lava Cliffs are a quick viewpoint where you’ll get to observe a rare section of volcanic rock inside the Rocky Mountains. The Lava Cliffs are from lava flow that occurred around 28 million years ago.
-
Gorge Range: Gorge Range is a fantastic place to get a clear view of the mountains. You’ll get a great view of Longs Peak (the highest peak in the park!)
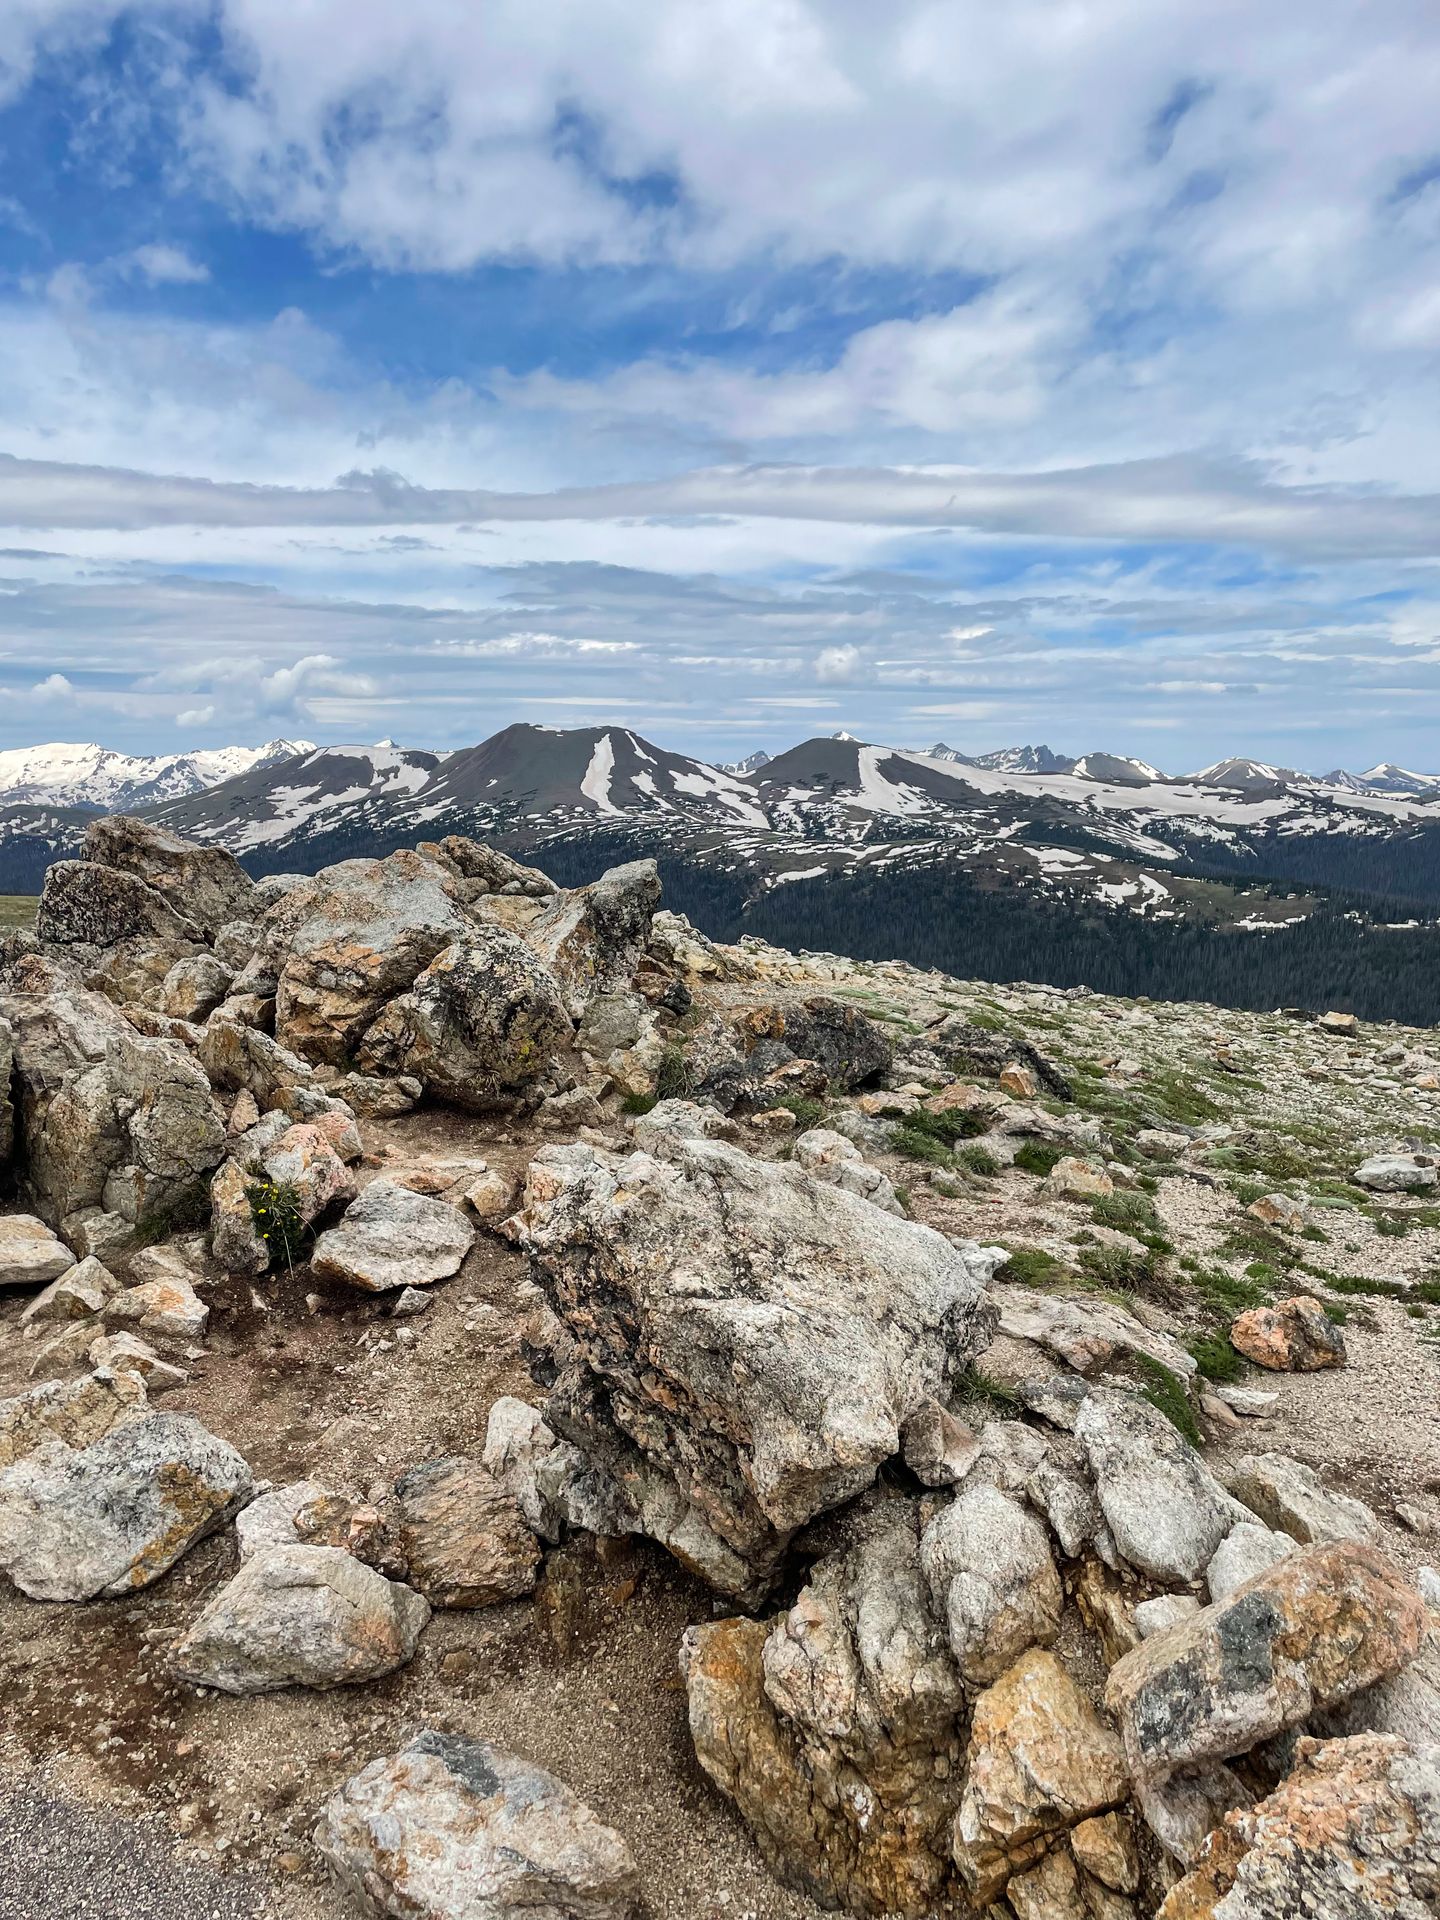
- Alpine Visitor Center: Don’t miss a stop at the visitor center during your drive on Trail Ridge Road! This is the highest elevation visitor center in the US. There are two buildings here and you’ll find a cafe, shop, exhibits and rangers whom you can ask questions. There is also a short trail that leads to a fantastic viewpoint of the area and a great look at the alpine landscape. The trail is about a half mile but includes steps and a somewhat steep climb.
Tip: Take extra care to stay on the trail in the alpine areas. The plant life here is very fragile!
-
Medicine Bow Curve: The Medicine Bow Curve is a beautiful mountain viewpoint that faces North. Down below, you’ll be able to see the Cache la Poudre River flowing through the valley.
-
Milner Pass: At Milner Pass, there is a sign for the continental divide. This is the line that divides drainage from the Atlantic and the Pacific oceans. Some incredible longer hikes begin here as well.
-
Holzwarth Historic Site: The Holzwarth Historic Site is an easy place to walk around and learn about a historic site inside the park. This was a homestead purchased by the Holzwarth family in 1917. It was then home to a Dude Ranch that was primarily used for fishing retreats. Today, some RMNP staff live there and you can walk among a few historic buildings.

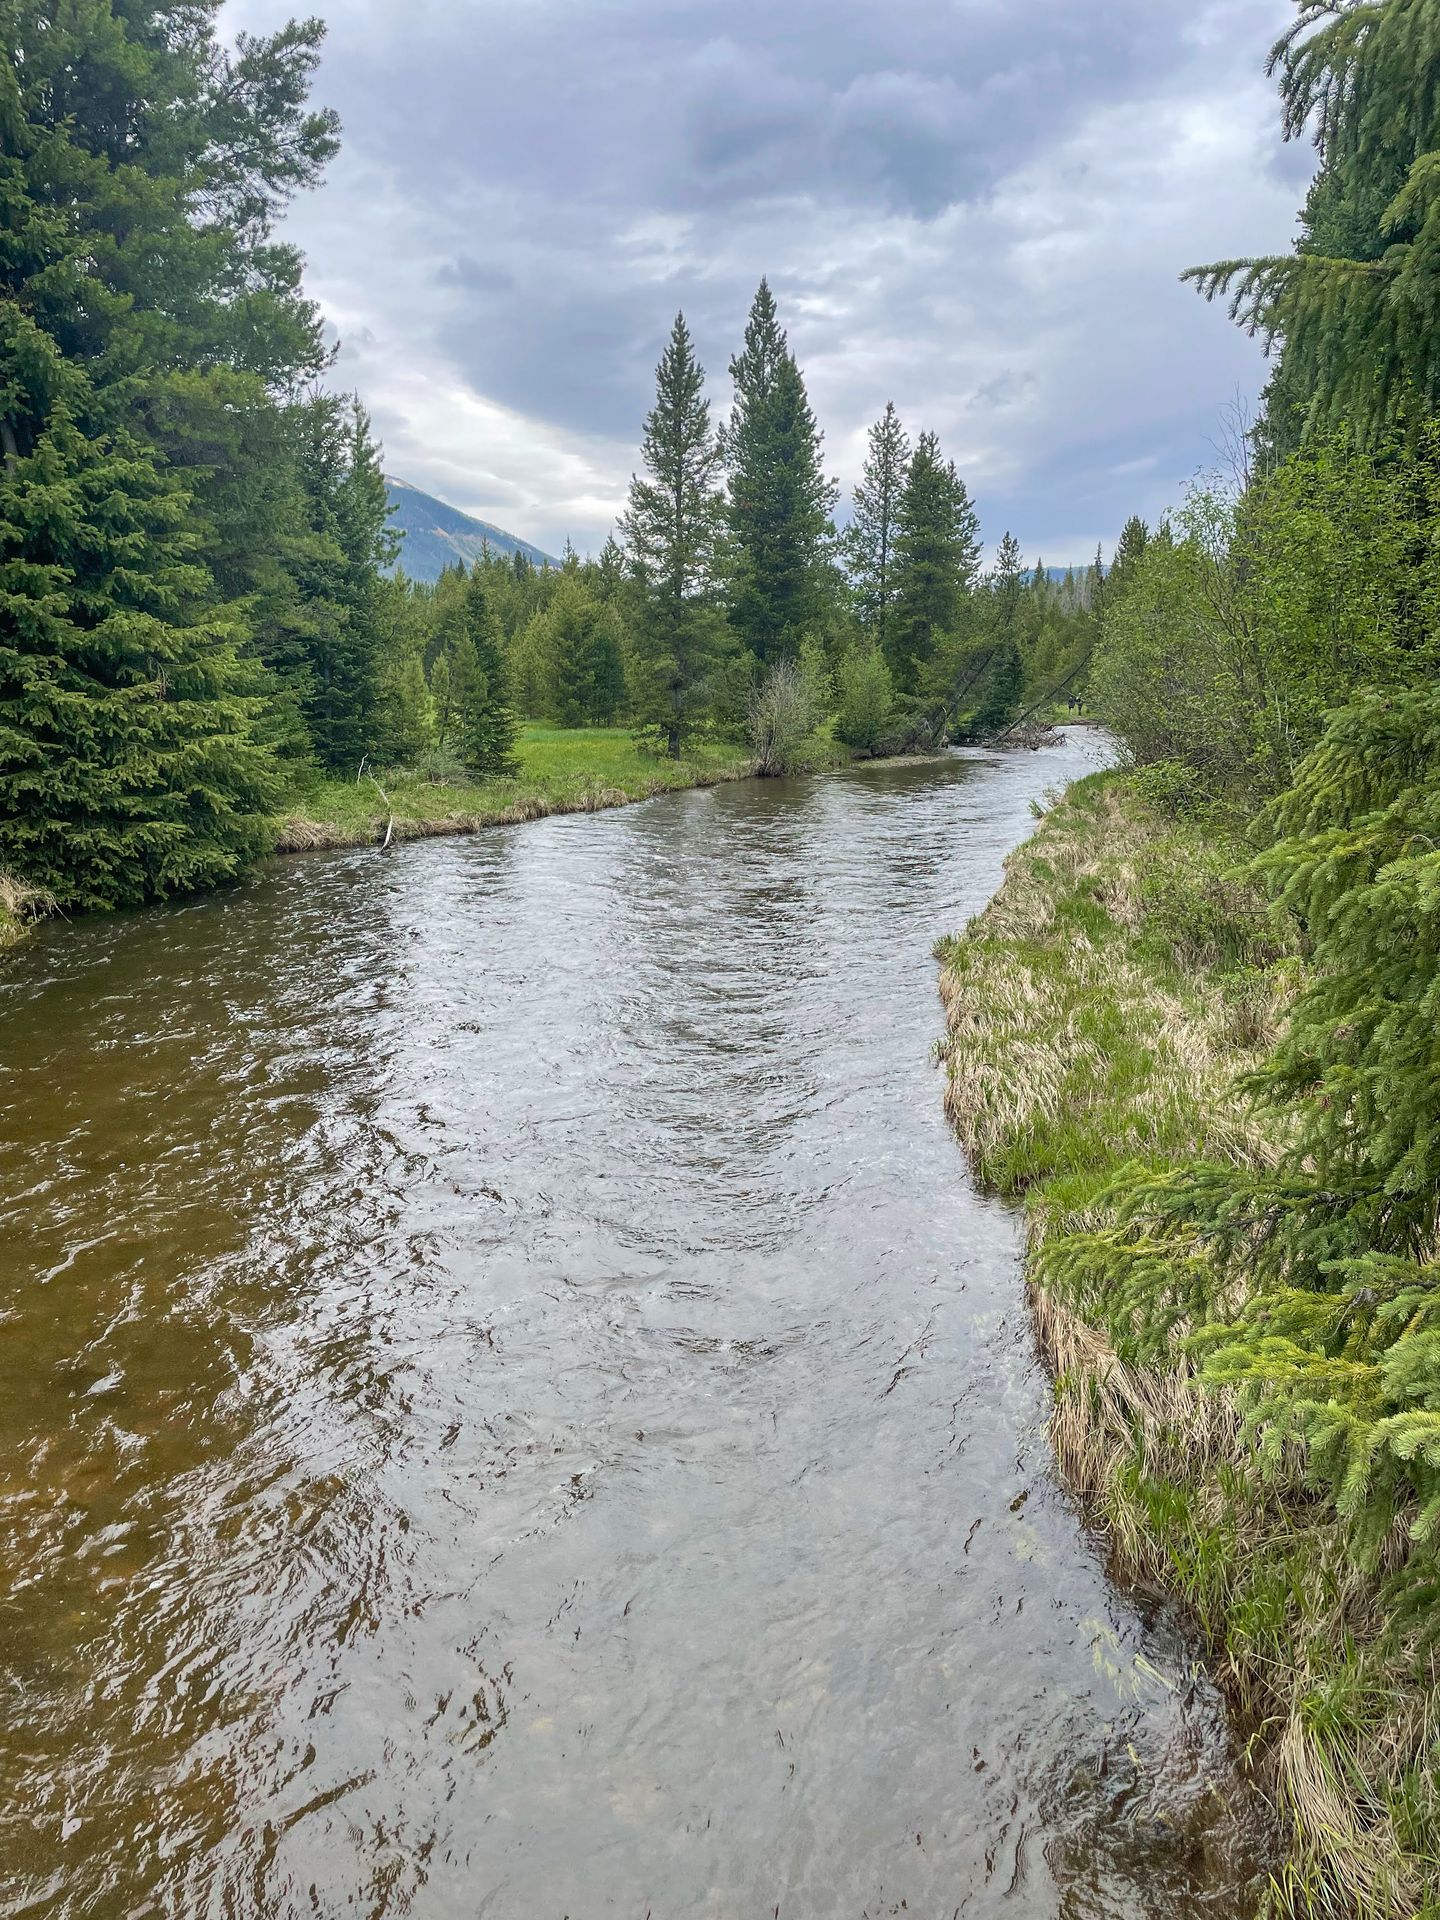
- Coyote Valley: The Coyote Valley trail is a 2 mile hike that follows along the Colorado River. It’s a wide and flat accessible trail and a great area to see elk and moose.
There are also additional stops that I haven’t listed. You can pick your own adventure based on your interests and how much time you have!
Tip: It may be much colder at the higher elevation part of Trail Ridge Road. Bring warm layers even in the summer!
Dinner in Estes Park
Return to Estes Park for dinner after a day of adventure. Here are some places I recommend for casual dining in Estes Park. I love Nepal’s Cafe for curry dishes, Antonio's Real New York Pizza for wings and pizza or The Barrel, a beer garden that often has food trucks parked outside.
Tip: If you’re looking for a fun evening activity, take a night time ghost tour of the Stanley Hotel and keep an eye out for anything paranormal.
Rocky Mountain National Park Itinerary: Day Two
Hike to Sky Pond
If you’re able, I recommend spending the day doing a longer day hike that will allow you to explore deeper into the national park.
If it’s your first time in the park, Sky Pond is a great place to start. This epic 8.6 trail leads to a gorgeous lake surrounded by mountains. The journey there includes waterfalls, other lakes and stunning mountain views. It’s a challenging but fun trail to see more of the Rocky Mountains.
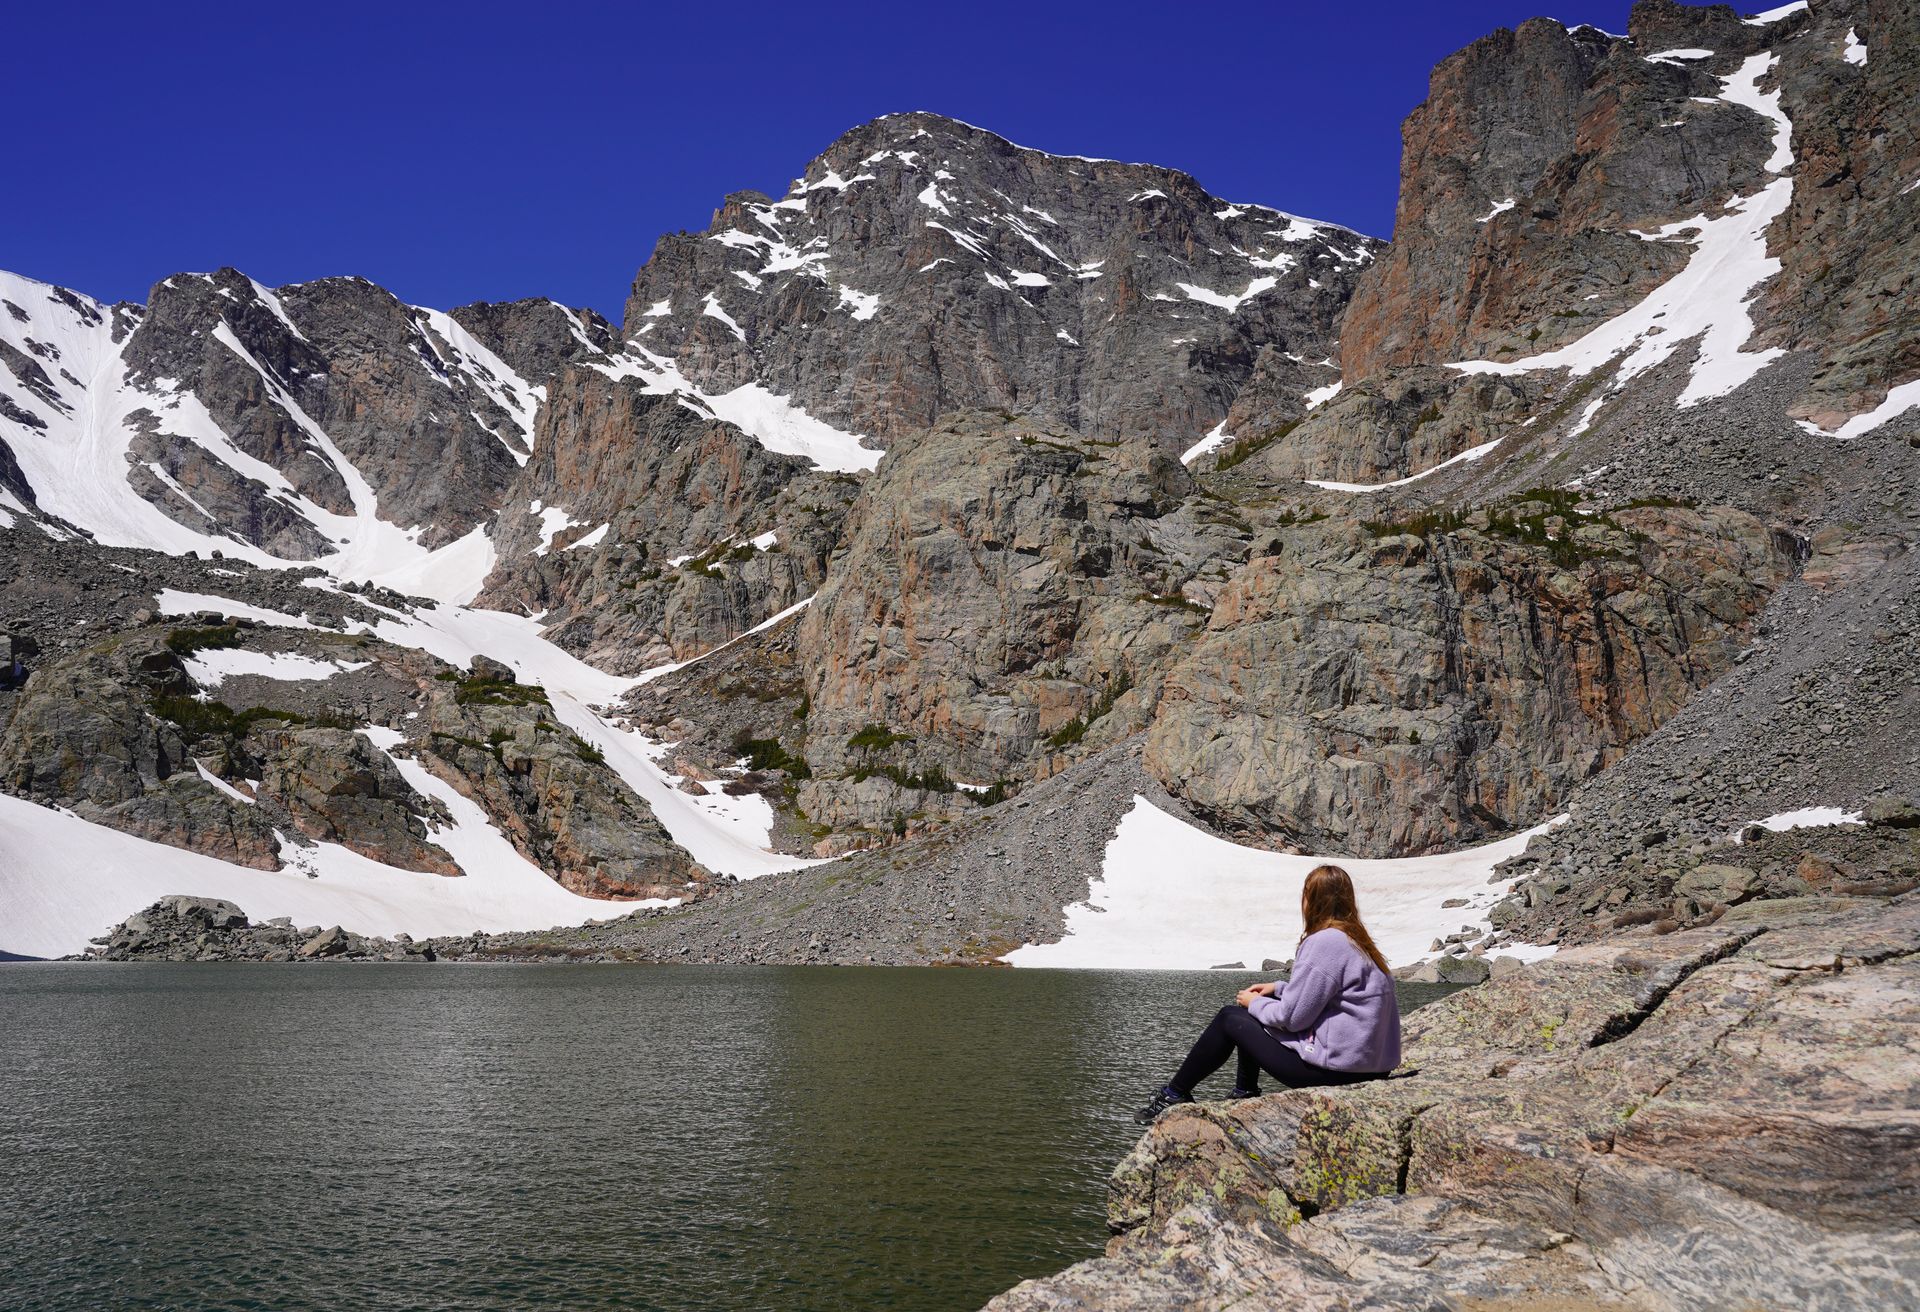
Begin the trail from either the Bear Lake parking area or Glacier Gorge. Note that Glacier Gorge has a much smaller parking lot so it’s hard to get a spot. The distance is about the same either way.
About a mile into the hike, you’ll see Alberta Falls. This is a 30-foot waterfall that cascades into a narrow gorge. You’ll be hiking along Glacier Creek, where the waterfall comes from, for this portion of the trail.
3 miles into the trail, you’ll reach Loch Lake. It’s a beautiful lake surrounded by some forested areas, making it a nice place to stop for a snack. After Loch Lake, the trail gets steeper.
Next, you’ll hike above the tree line and across an exposed, rocky area. At 4 miles into the hike, you’ll reach a rock scramble where you'll essentially be climbing a waterfall, Timberline Falls.
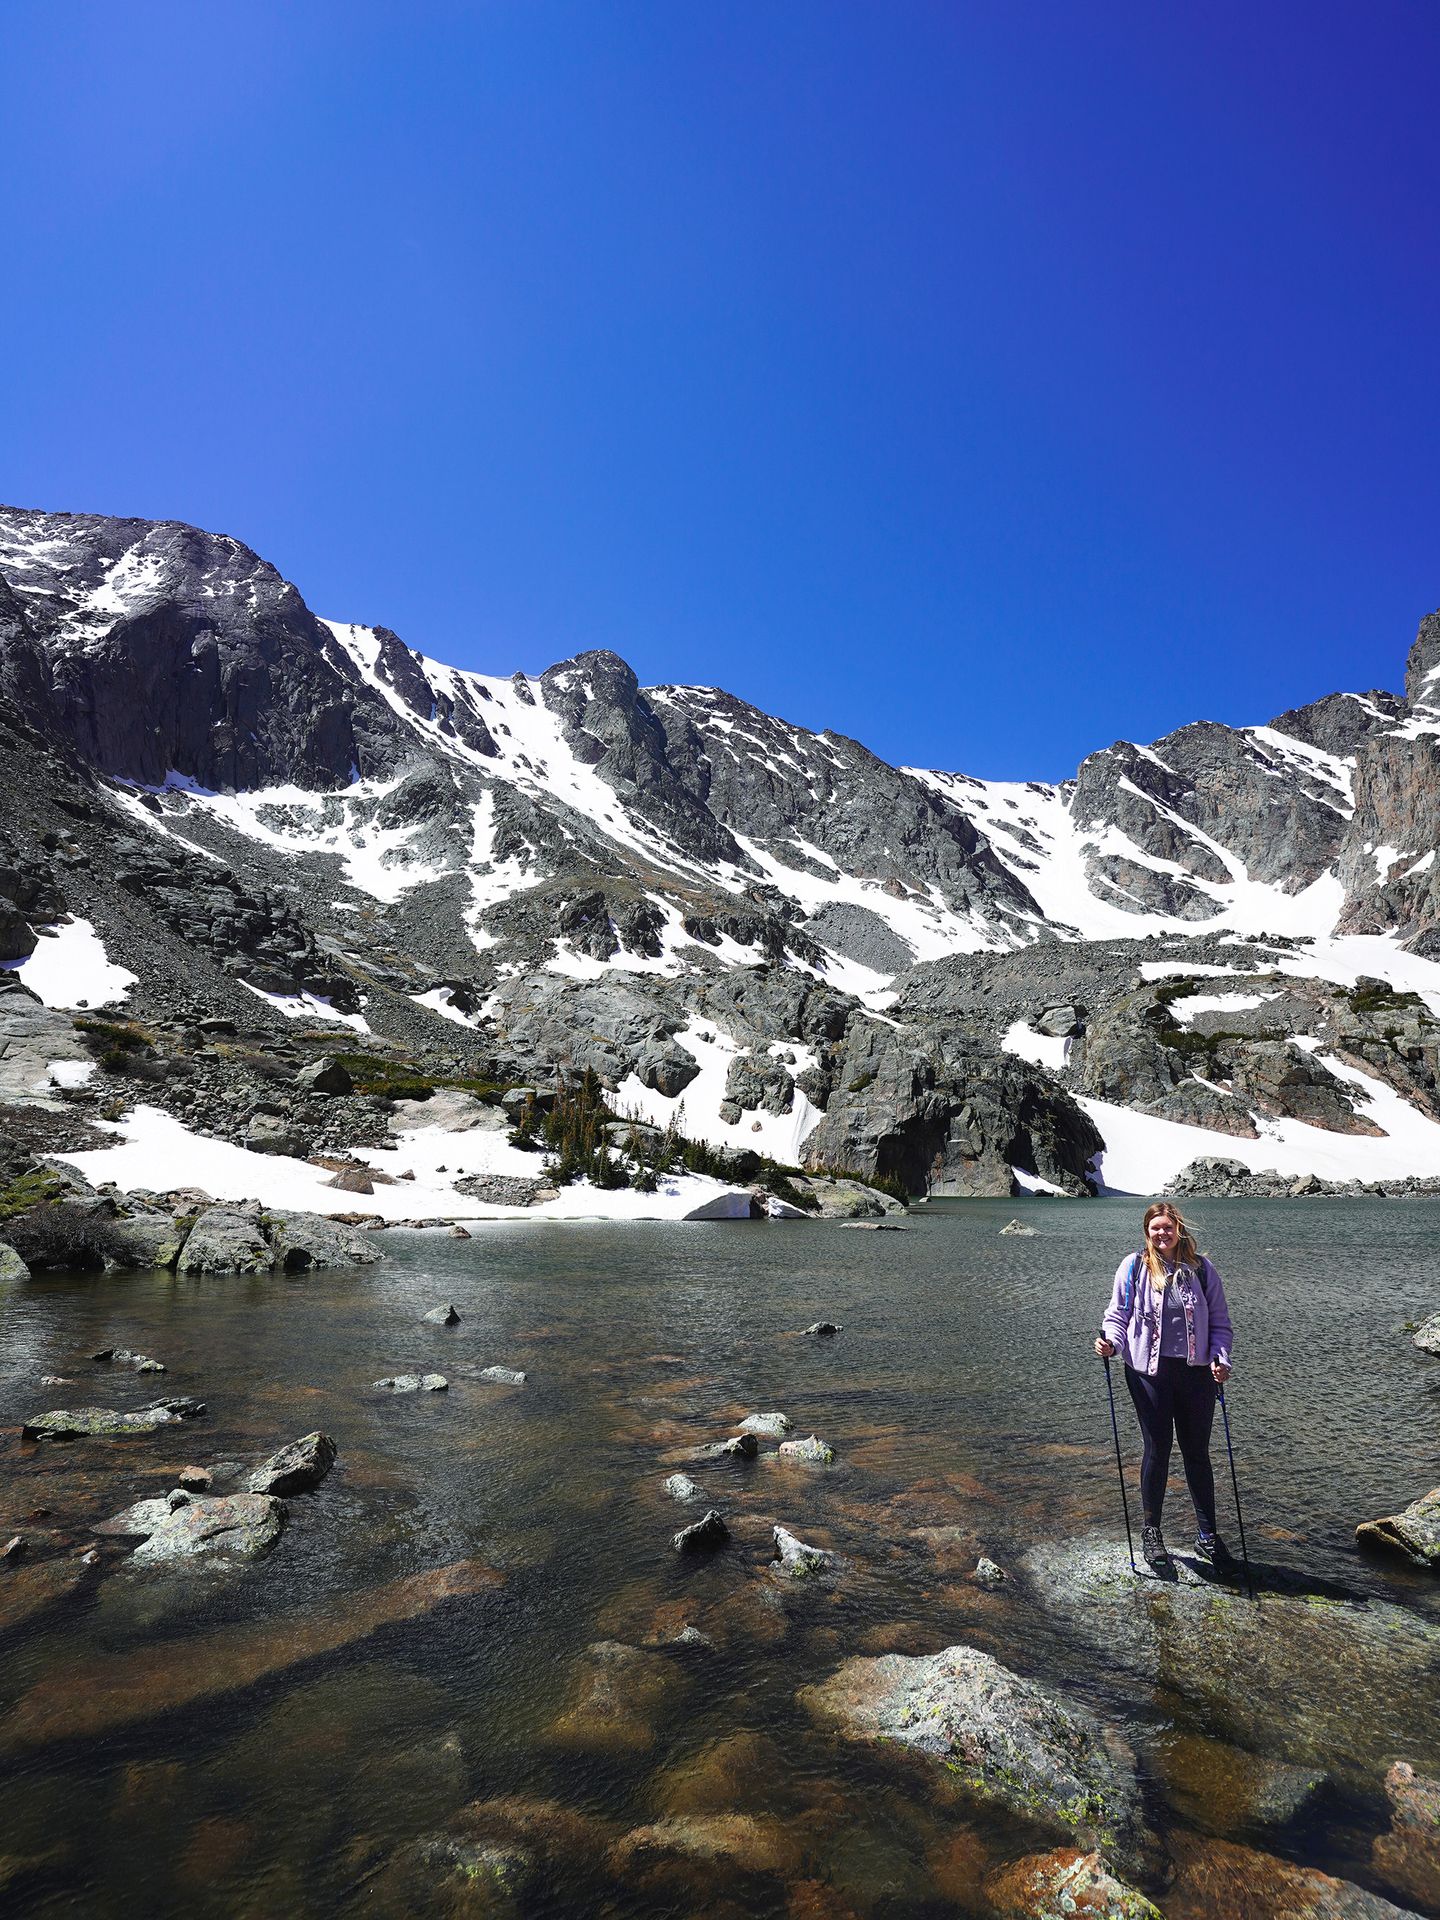
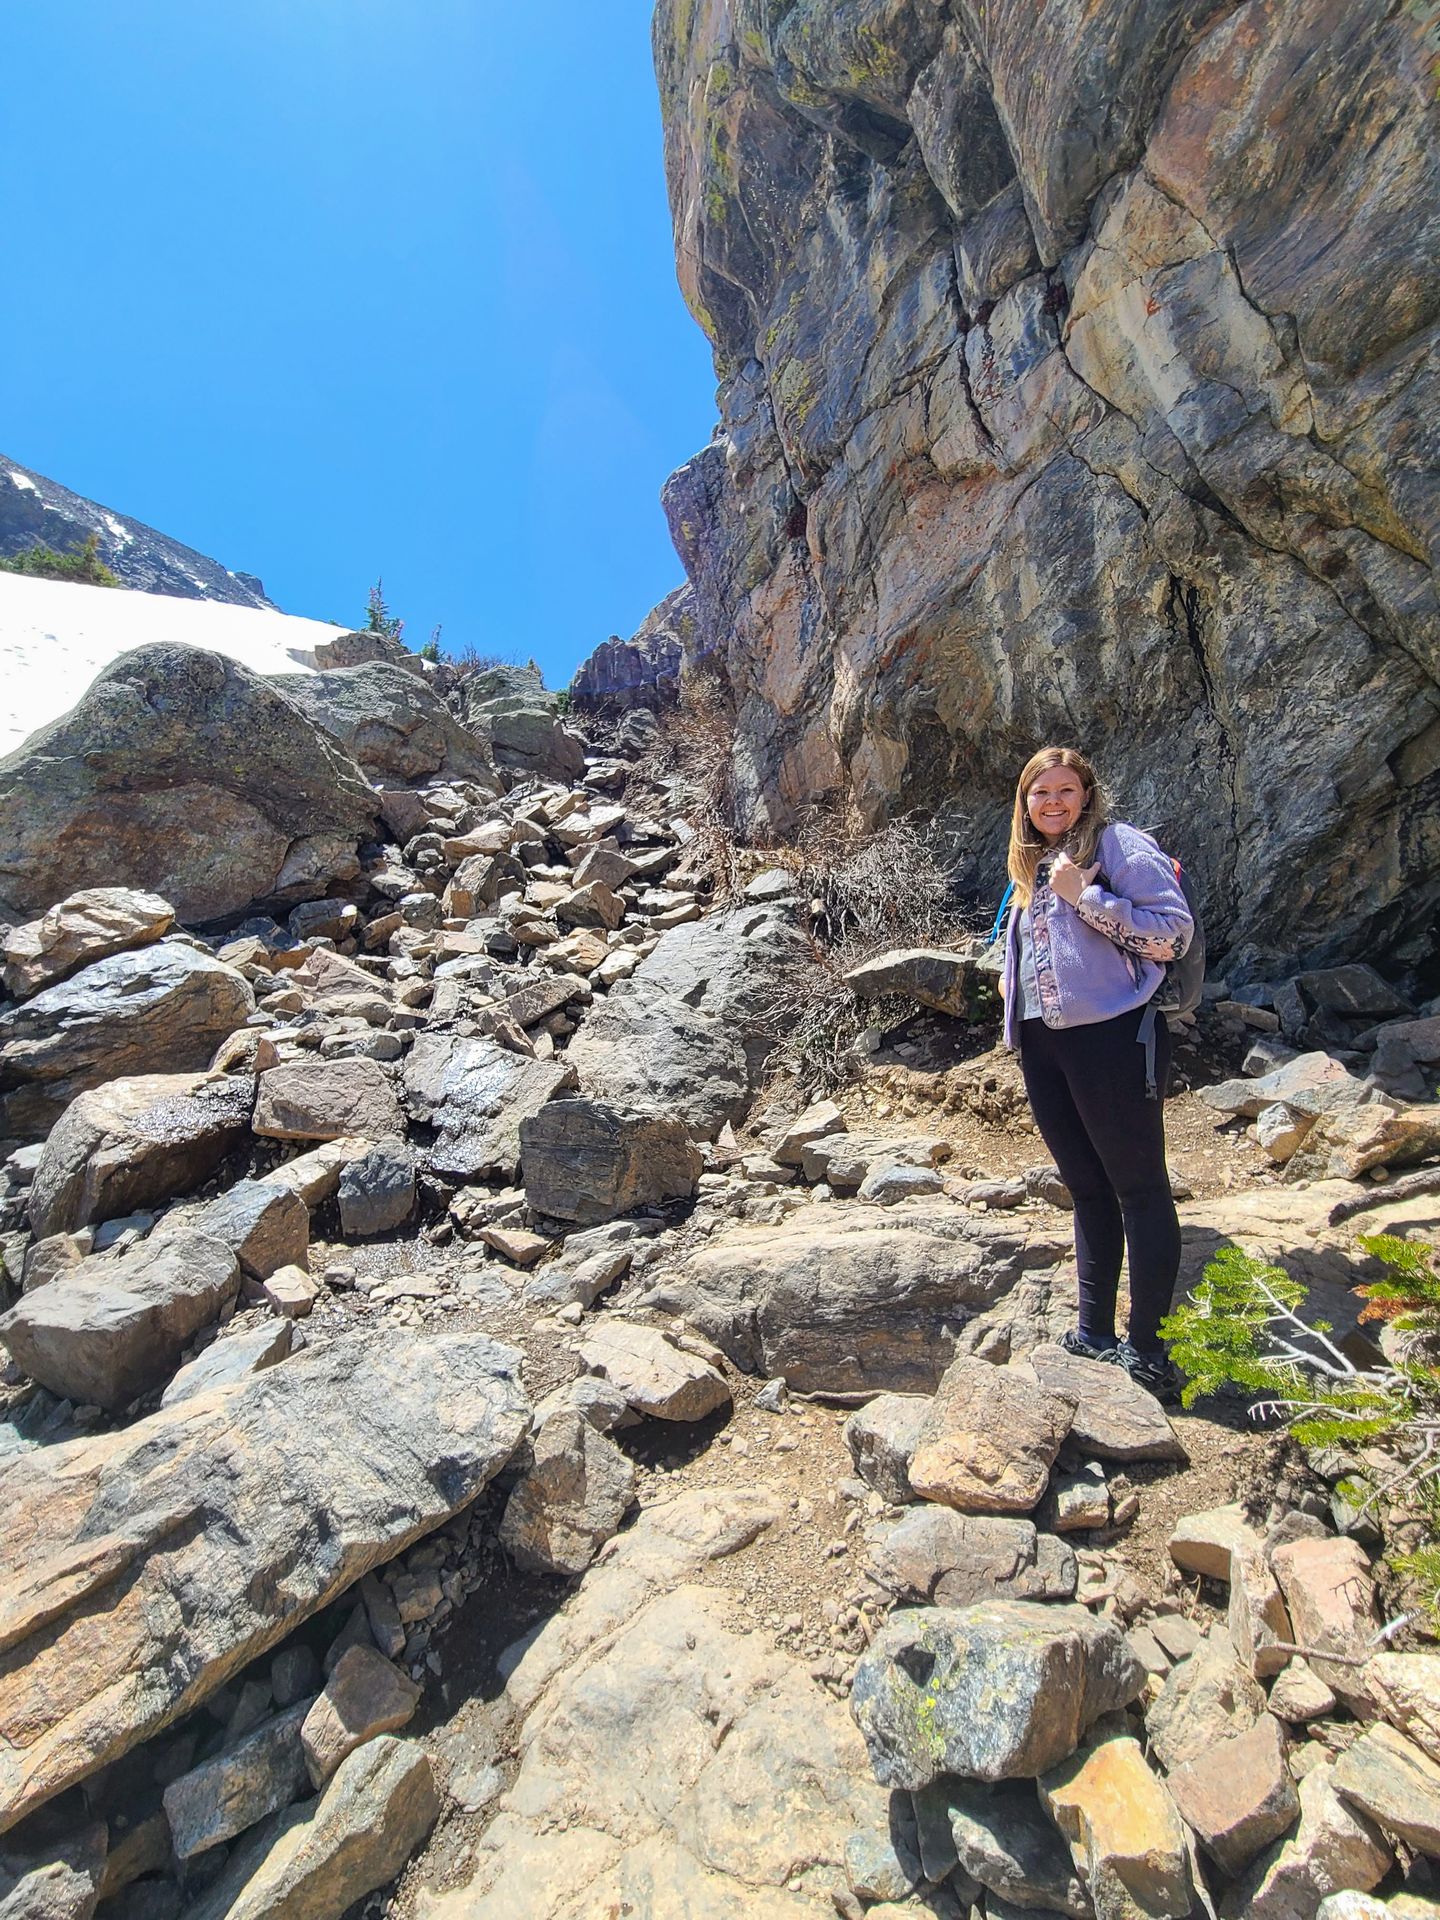
You will need to use your hands as you climb about a 100 feet and your feet may get a little bit wet. It is really important to have proper hiking shoes with good grip for this portion of the trail (and the entire hike). And if you’re uncomfortable, make sure to stay safe and do not proceed. Remember that it’s easier to climb up than down.
At the top of the scramble, you’ll reach Lake of Glass. This is a small and beautiful lake, but it’s not the one you’re after. Continue on just a quarter mile further to reach Sky Pond.
The views are worth the climb to the top. This alpine lake has an elevation of 10,900 feet, has a greenish color and is surrounded by large rock faces on 3 sides. Celebrate your accomplishment with a packed lunch (but be sure to pack it out) and make sure to be extra careful as you make your way back down.
Other Rocky Mountain National Park day hikes on my bucket list include Chasm Lake (8 miles) and Mount Ida (9.4 miles). Both are rated hard, be sure to do your research before you attempt.
Sprague Lake
If you’re looking for an easy stop as you make your way out of the park, make a quick stop at Sprague Lake. It’s a beautiful spot to watch the sunset, spot moose or just take in the views of another lake with a backdrop of trees and mountains.
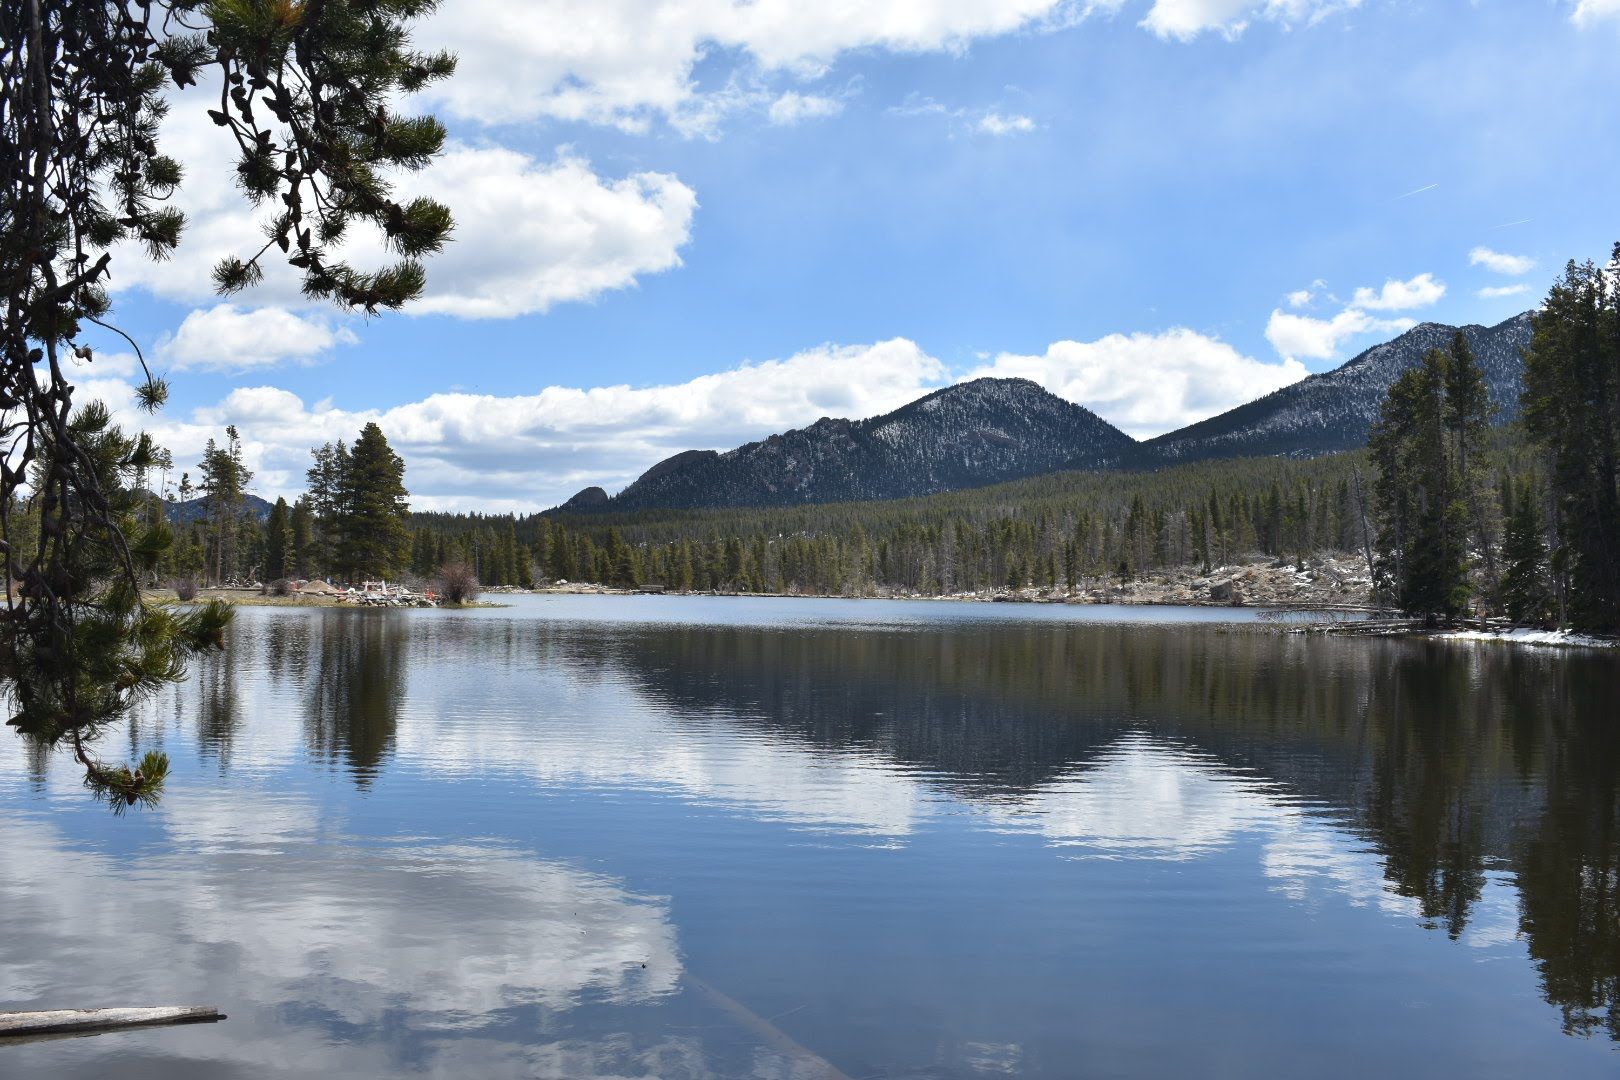
The Sprague Lake Trail is flat and accessible for wheelchairs and strollers. There is a half mile loop that goes around the lake.
After two epic days of hiking and exploring, spend another evening out in Estes Park or drive back to Denver to catch your flight.
Where to Stay When Visiting Rocky Mountain National Park
Camping in the Rocky Mountains
There are multiple options for camping inside the Rocky Mountains. On the east side of the park, you can choose from the Aspenglen, Glacier Basin and Longs Peak campgrounds. On the west side of the park, you can stay at the Timber Creek Campground.
Longs Peak is the only first come first served campground in the park and typically opens mid-summer. It also has limited spots and requires tents only.
For the others, you’ll want to check when reservations go on sale and book early, as reservations go quickly.
In my opinion, Aspenglen offers the best location but it is also smaller than the others so may be difficult to snag a reservation at.
Hotels and Cabins in Estes Park
If you want to stay in a hotel or cabin, there are so many options in Estes Park. Estes Park is located right outside of the park and a convenient location for easily driving back and forth. It’s also full of restaurants, shops and other activities.
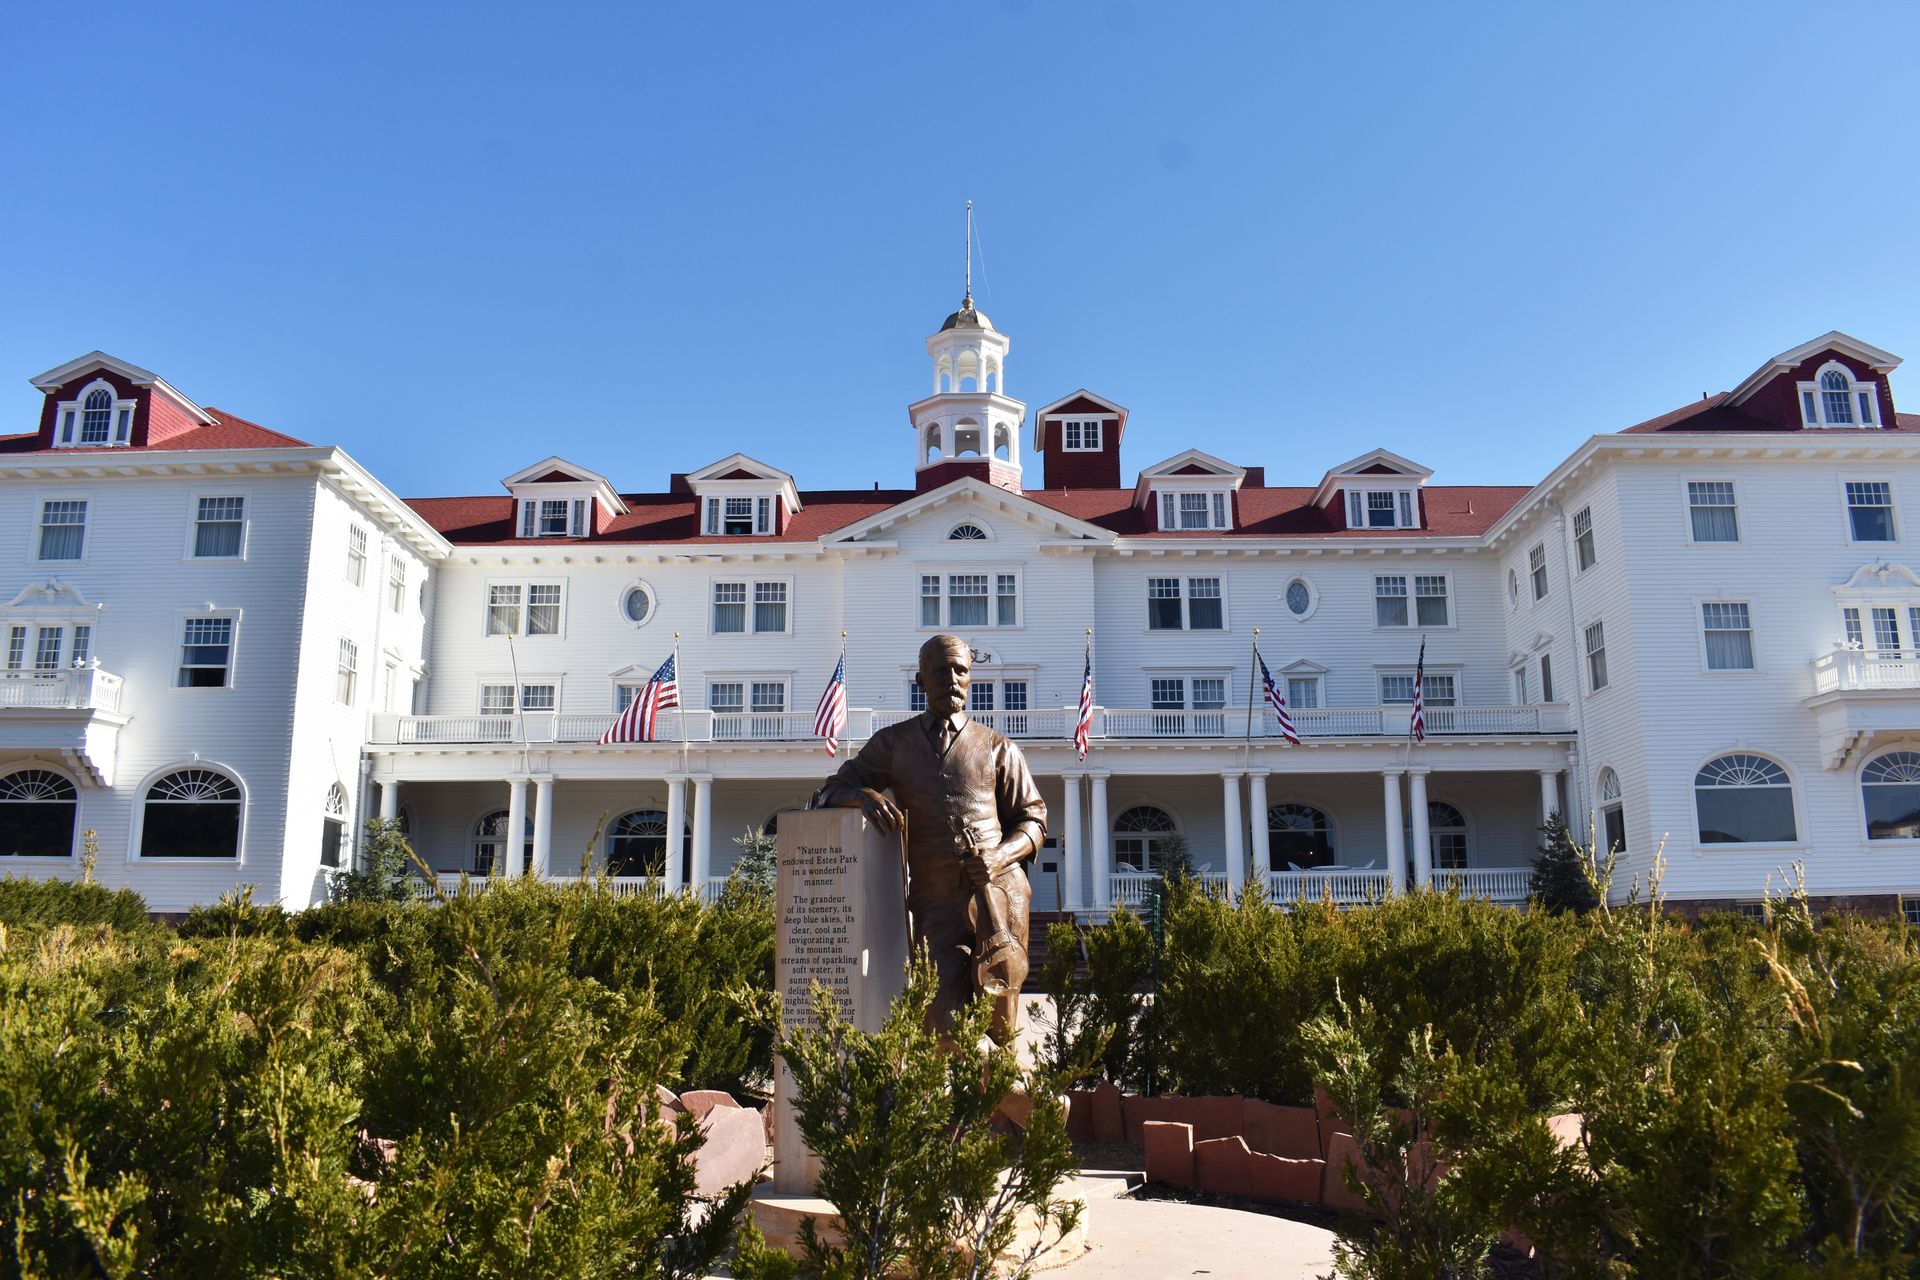
For something more luxurious, check into the historic Stanley Hotel. This is the hotel that Stephen King’s The Shining was based off of and is supposedly haunted. In addition to the historic part of the hotel, there is a boutique hotel, condos and more options for different types of rooms in various buildings.
To be in close walking distance to downtown Estes Park in a mid-range hotel, check out Misty Mountain Lodge, Murphy’s River Lodge or the Silver Moon Inn.
If you’re looking to stay in a much quieter area, you can look at Grand Lake, which is located on the opposite side of the park. It’s further from the popular trails but offers more peace and quiet. Check out Western Riviera Lakeside Lodging for lakeside views, The Historic Rapids Lodge and Restaurant for a historic stay or Spirit Lake Lodge for rooms with Western Decor and fireplaces.
Final Thoughts
I hope this guide helps you plan an epic trip to Rocky Mountain National Park! The park has a lot to offer and I’m sure these action packed two days will make you want to return and explore deeper in the future. Whether you’re visiting for the wildlife, the views or the trails, it’s easy to fall in love with this incredible park.
For more Colorado guides, check out these blogs:
- A Guide to Visiting Rocky Mountain National Park in May
- The Best Things To Do in Boulder, Colorado
- The Best Hiking in Fort Collins, Colorado
- The Perfect Denver Weekend Itinerary
- How to Spend One Day in Colorado Springs
- The Best Things To Do in Silverthorne, Colorado
For more US National Park guides, check out these blogs:
- The Best Things To Do at New River Gorge
- 50+ Things To Do in Yellowstone
- The Best Hiking Trails in Acadia
- How to Spend Two Days in Zion
- How to Spend Two Days in Joshua Tree
- How to Spend One Day in Theodore Roosevelt National Park
- A Guide to Badlands National Park in October
Thanks for Reading!
Let's stay in touch!
Join the Lost with Lydia email list to get monthly travel guides and tips!
